Too Many Good Things Out There Not To Share Them With You!

Showing posts with label home solutions. Show all posts

Monday, March 1, 2010

Wall Art Display

 As the thought of an upcoming foster child continues to cloud my mind I was thinking of the ways I could encourage and foster lots of self esteem for the little person God brings us. Displaying and showing we are proud of this little person I know will be so important so here's a little post from How Does She blog. She has some great tips for displaying artwork and I'm sure there will be lots of it around our house! 

How Does She display kid’s art?  I knew I could find a few ideas, I had no idea I would find this many!!!  I am excited to present all these awesome ideas – I am so inspired to get my kids to make more art, just so I can display it!

 #1 Collage It

way to display kids artThis is Alison’s idea to take lots of art, shrink it on the computer and put it into one collage.  Child’s art 18 into 2!

#2 Group together on the wall

I love this idea because it is so easy to update whenever you want and it looks GREAT!
kids drawings as art
 The Style Files shares this picture.  I love all the colors against the white wall.    You can get these curtain holders at Ikea, not online, unfortunately, but if you live by one – lucky you!
work of art lofn
 The Land of Nod
art on wall
display kid art 2
display art magnet wall
display art photo
Cookiemag suggests taking pictures of the art and grouping the pictures together into a display on a cork board

#3 Treat it as art

This frame allows you to easily switch pictures and even store some behind the most recent art being displayed
art display zebra
Blissfully Domestic has a great tutorial on displaying framed art.
art on canvas
Turn it into art on Canvas!!!  This is one of my favorite ideas – pretty much anything on canvas just looks classy.
mykidsartoncanvas has the idea above on their website, you can order from them

OR
get it for free at Canvas People – click here!


 Turn it into custom wall paper art, a laptop skin, or a removable sticky picture at SticViews - You can still get one free – see this post to find out how!
Turn doodles into a real work of art - Lizette from Fine Doodles display art fine doodles.jpgdoes some amazing work with your kid’s doodles – you gotta check out her website!

#3 Take it with you and show it off!

display art jewelry 1
Analiese will turn it into a clay pendant for you
art display silver
or Totally out of Hand will turn it into silver or gold jewelry! 
display art bag
Snap Totes will turn images into bags or pillows – picture your kid’s art on the bag above.

Little Birdie Secrets has a tutorial on how to turn you child’s drawing
art display monster 1
into a stuffed toy
art display monster 2
I made one for my son and he thinks it is the coolest thing! 

Other ideas I found but don’t have pictures for are:

shrink and mod podge onto coasters
Use clipboards as frames – easy to change out
hang them all over your garage walls
use them for wrapping paper
display on picture ledges
upload them to a book printing company and have a nice book of art
laminate them and use as placemats
turn them into a calendar – click here to see how to get a FREE ONE
 cover your coffee table w glass and slide drawings underneath
use a plastic tablecloth over your dinner table and slide drawings underneath
have them made into postage stamps
cut up and use as gift tags

Sunday, February 28, 2010

Look What I Can Do........Shhhhh....... You Can Do It Too!

Many of my dear friends who I have let into my craft room know I'm an organizing junkie. I just feel better when I know where something is and I'm not wasting time trying to find it. Enter ribbon. I have tried to organize ribbon in so, so, so many different ways and always come up short ........dum dum dum. Until NOW! Check out this super easy way to make a ribbon organizer and moreover easy to take the spools on and off. Why didn't I think of that? I think I will paitn mine whit to go with the white theme going on in my craft room.

DIY Ribbon Organizer

It seems such a shame for something as pretty as ribbon to be shut up in a closet, wouldn’t you agree? I have this fantasy of storing all my wrapping in plain sight, as a sort of functional art, and this super simple project has me one step closer.
look at this pretty ribbon, all it asks is to be set out and appreciated
I’d call this a tutorial, but really, it seems too simple to be a tutorial. It’s just a trip to a couple of stores I’m guessing you already visit. A few minutes later, you’ll be set with a place to store every spool of ribbon or twine in your closet. Should we get going then?
Start with a trip to the thrift store.

Have you ever noticed many candlesticks have a hole that goes all the way through? Do a little searching and I’m sure you’ll find several. On my last trip I picked up five. They are ripe for the picking, my friends. If you don’t like your color options, pick up a spray can of Krylon at the hardware store and do a quick paint job when you get home.

Often you’ll need to unscrew something. It wouldn’t hurt to have a Philips and flathead with you when you go.

The next stop is the craft store. Pick out a wooden dowel that makes a snug fit. Mine was pretty snug. The wood was soft enough that I just screwed it right into the base. If your dowel is a little thin, you have options. Pick up a wooden disk while you’re at the craft store. Drill a hole so you can use the wooden disk as your base, then plant the dowel in the hole (again, make sure it’s a snug fit) and slide the candlestick right over. You also have the choice of picking up one of these from the hardware store, they’re called allthreads and work great for this project if you prefer them to a dowel.
That’s it. Once you find a dowel or rod that fits, there’s nothing left to do but stack the candlestick back together, and display in your studio, office, or right on your mantle.

Sunday, February 21, 2010

Did Someone Say That Dirty Word......Organic?

Beauty is More Than Skin Deep: Choosing Safer Personal Care Products


A couple of years ago, I was still blindly slathering my body with products whose ingredients I could barely pronounce. When I learned the truth, that the FDA does not regulate the ingredients in beauty and personal care products, it rocked my world, and fueled the start of a personal revolution towards a more natural lifestyle.
Our skin, is after all the largest organ we have, so it’s a pretty good starting point for developing a healthier lifestyle. With a self-regulating industry, though, it can be difficult to know which products are actually safe. This is where the Skin Deep cosmetic safety database comes in.

About the Database

Built by the smart and caring Environmental Working Group, the Skin Deep cosmetic safety database is a place where you can search for any personal care product and see how it rates on the hazard scale, and learn about its ingredients.
It’s really simple. Zero is the safest and ten is the most hazardous score. Most products on the market are listed, and although it can be a bit tedious, you can actually list products that you don’t find, simply by copying information from the label onto a form on the website.
You can also search by category and see which products in that category have the safest ratings.

Ten Ways to Get Smart About Personal Care Products

1. Don’t trust the labels. I was most shocked when I started researching sunscreen, something that is supposed to protect our skin. Companies throw out words like “all natural,” or even “organic,” but don’t actually have to adhere to any standards for those claims. Instead of trusting trendy slogans and greenwashed labels, look for products that rate low on the database and have a low “data gap.”
2. Go straight to the ingredients. Since we can’t necessarily trust the labels or company claims, the best thing to do is educate ourselves on which ingredients are most toxic, such as parabens and pthalates. And at a glance, I look for products whose ingredients I can easily pronounce.
3. Research the products you have. This can be a very enlightening exercise. Take your favorite products to the database, and while you could be surprised what dangers are lurking within those bottle, maybe you’ve already been using something that’s actually quite safe.
4. Watch out for proprietary information. Possibly one of the more dangerous ingredients in these products, fragrance, is one that most labels only indicate very generally. Since it is considered “proprietary information,” the company doesn’t have to disclose exactly what that term refers to.
5. Be aware of hidden toxins. Some of the most dangerous compounds show up in laboratory tests but not on product labels. For example, 1,4 dioxane, a cancer-causing chemical, is formed when a common ingredient, sodium lauryl sulfate is converted to the supposedly more gentle sodium laureth sulfate. In addition, when we use multiple products, we are exposed to more and higher amounts of toxins like carcinogens.
6. Focus on those most susceptible. The younger a person is, the least they can fight against toxins, and the more concentrated these toxins will be in their little bodies.  My favorite line of non-toxic products is called California Baby (and it’s even sold at Target!).
7. Pay now or pay later. If you’re afraid of the cost of starting over with safer products, consider that it’s probably worth the cost of a few really good products to avoid ingredients that could lead to costly medical procedures down the road. Also keep in mind that when we buy safer, quality products we are also voting with our dollars for better products.

8. Simplify.
Instead of an entire bathroom full of products, I’ve realized that what I actually need and use regularly makes up a pretty simple arsenal. Love the feeling of thinning out your wardrobe and getting rid of unused items? Try the same techniques with your beauty products, clearing out products that are expired or rate high on Skin Deep. A simpler beauty routine takes less time and money to keep up as well.
9. Stick to companies who have signed the Compact for Safe Cosmetics. These companies commit to discontinue the use of dangerous toxins and adhere to the EU Cosmetic Directive. They might still be in transition to being fully compliant, but at least they’ll be more trustworthy than those who refuse to sign.
10. Skip buying products all together, and make your own. Some of the best ways to take care of our bodies require only a trip to the pantry or the health foods store. Here are a few resources and ideas:
Another great resource is the book Not Just a Pretty Face, which details the history of Skin Deep and the Campaign for Safe Cosmetics, along with information of various toxins and studies. And be sure to check out the Skin Deep Safer Shopping Tips as well.
Have you found Skin Deep to be useful? How else do you avoid toxins in the beauty and personal care products your family uses?
Beauty is More Than Skin Deep: Choosing Safer Personal Care Products is a post from: Simple Organic

Wednesday, February 17, 2010

Robin's Eggs For Easter

This is sooo cute. Check it out and super easy!!!

Morning, everyone!  Your very own crazy crafter, Jess from Mad in Crafts, here.
Are you cheap?  I am.  I have a little panic attack anytime I see a price tag in the triple digits.   Do you like pretty things?  I do.  When my house is clean and decorated, sometime I just sit and look around at it all.  Partly because I know it will be many moons until it’s actually clean again.  Anyway, because of my remarkable cheapness and love of pretties, you can imagine the internal torment that overtakes me when I visit the Pottery Barn website.  ((shudder))
A few months back I wrote a couple of posts called A Dollar Barn Christmas where I took items I found at my local Dollar Tree and turned them into home decor that was inspired by all the goodies at Pottery Barn.  I was browsing on the PB website a few weeks ago, and got that lovely crafter’s voice in my head.  “I can make that.  I could make that too!” 
I am adding a series of posts on my blog, Mad in Crafts, with tutorials on how to make PB-ripped off Easter/ Spring decor for your home.  The first post in the series showed how to create the elements for a fancy Easter centerpiece based off of two PB catalog items.
Today’s tutorial is redonkulously simple and would be a fun project to do with any bored, little ones you have moping around the house.
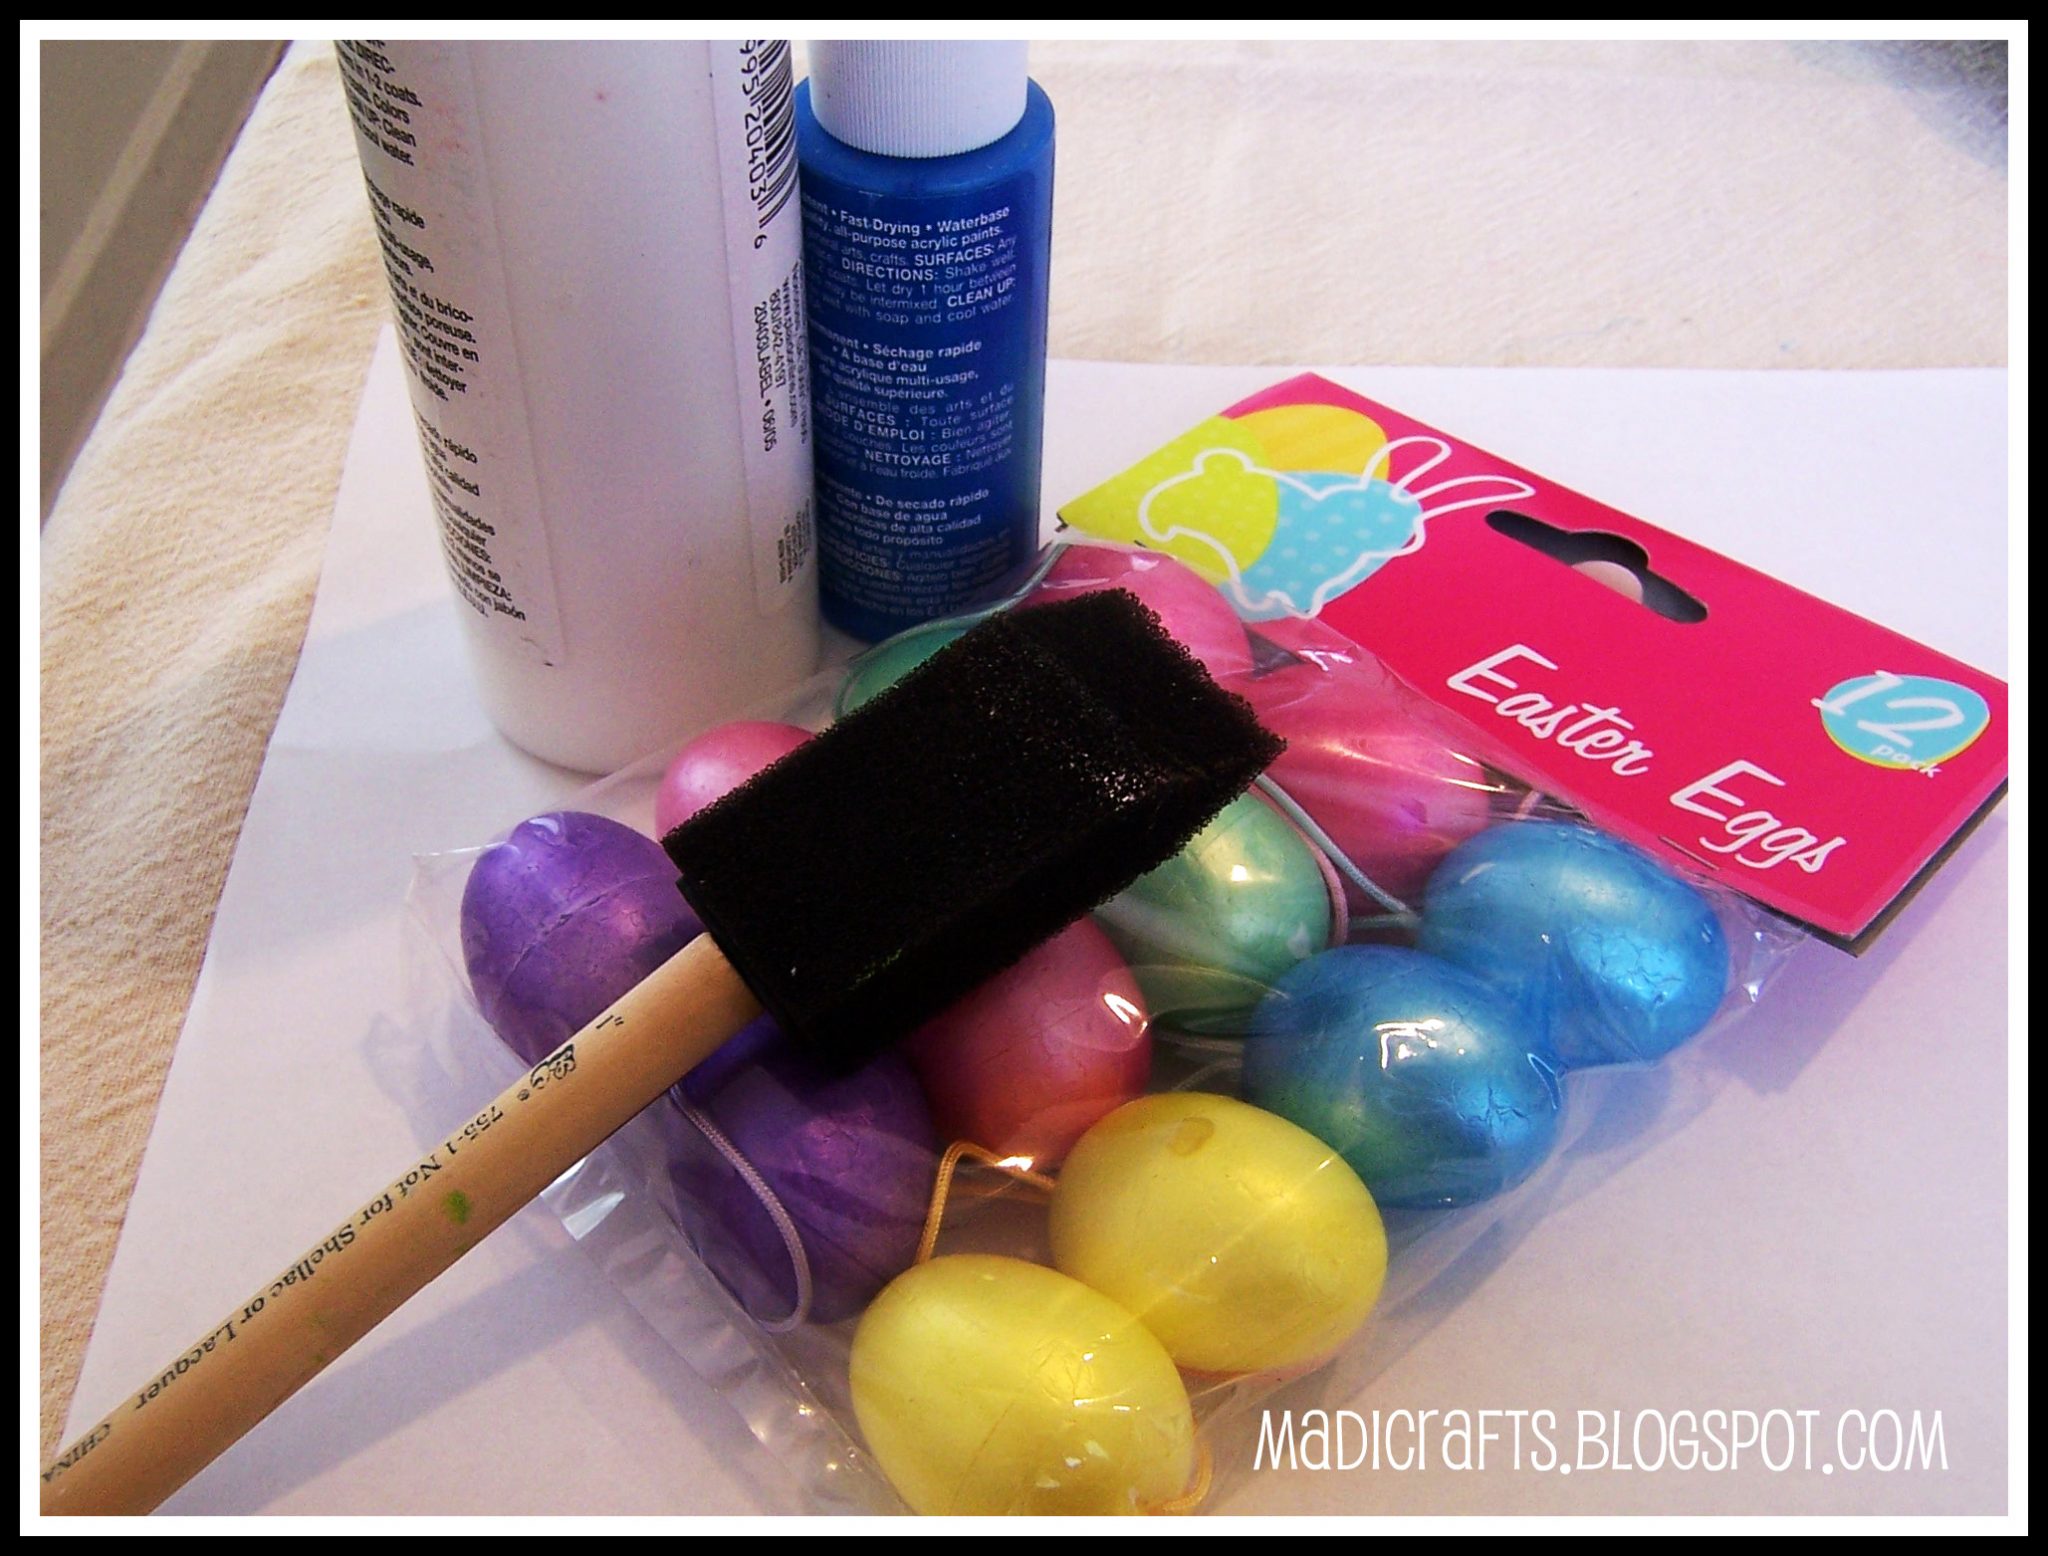
To make Robin’s Egg Vase Filler, you will need:
  • 1 or 2 packs of 12 styrofoam easter eggs (Dollar Tree): $1 each
  • craft paint in robin’s egg blue: on hand
  • craft paint in brown or black: on hand
  • paintbrush: on hand
Total: $1
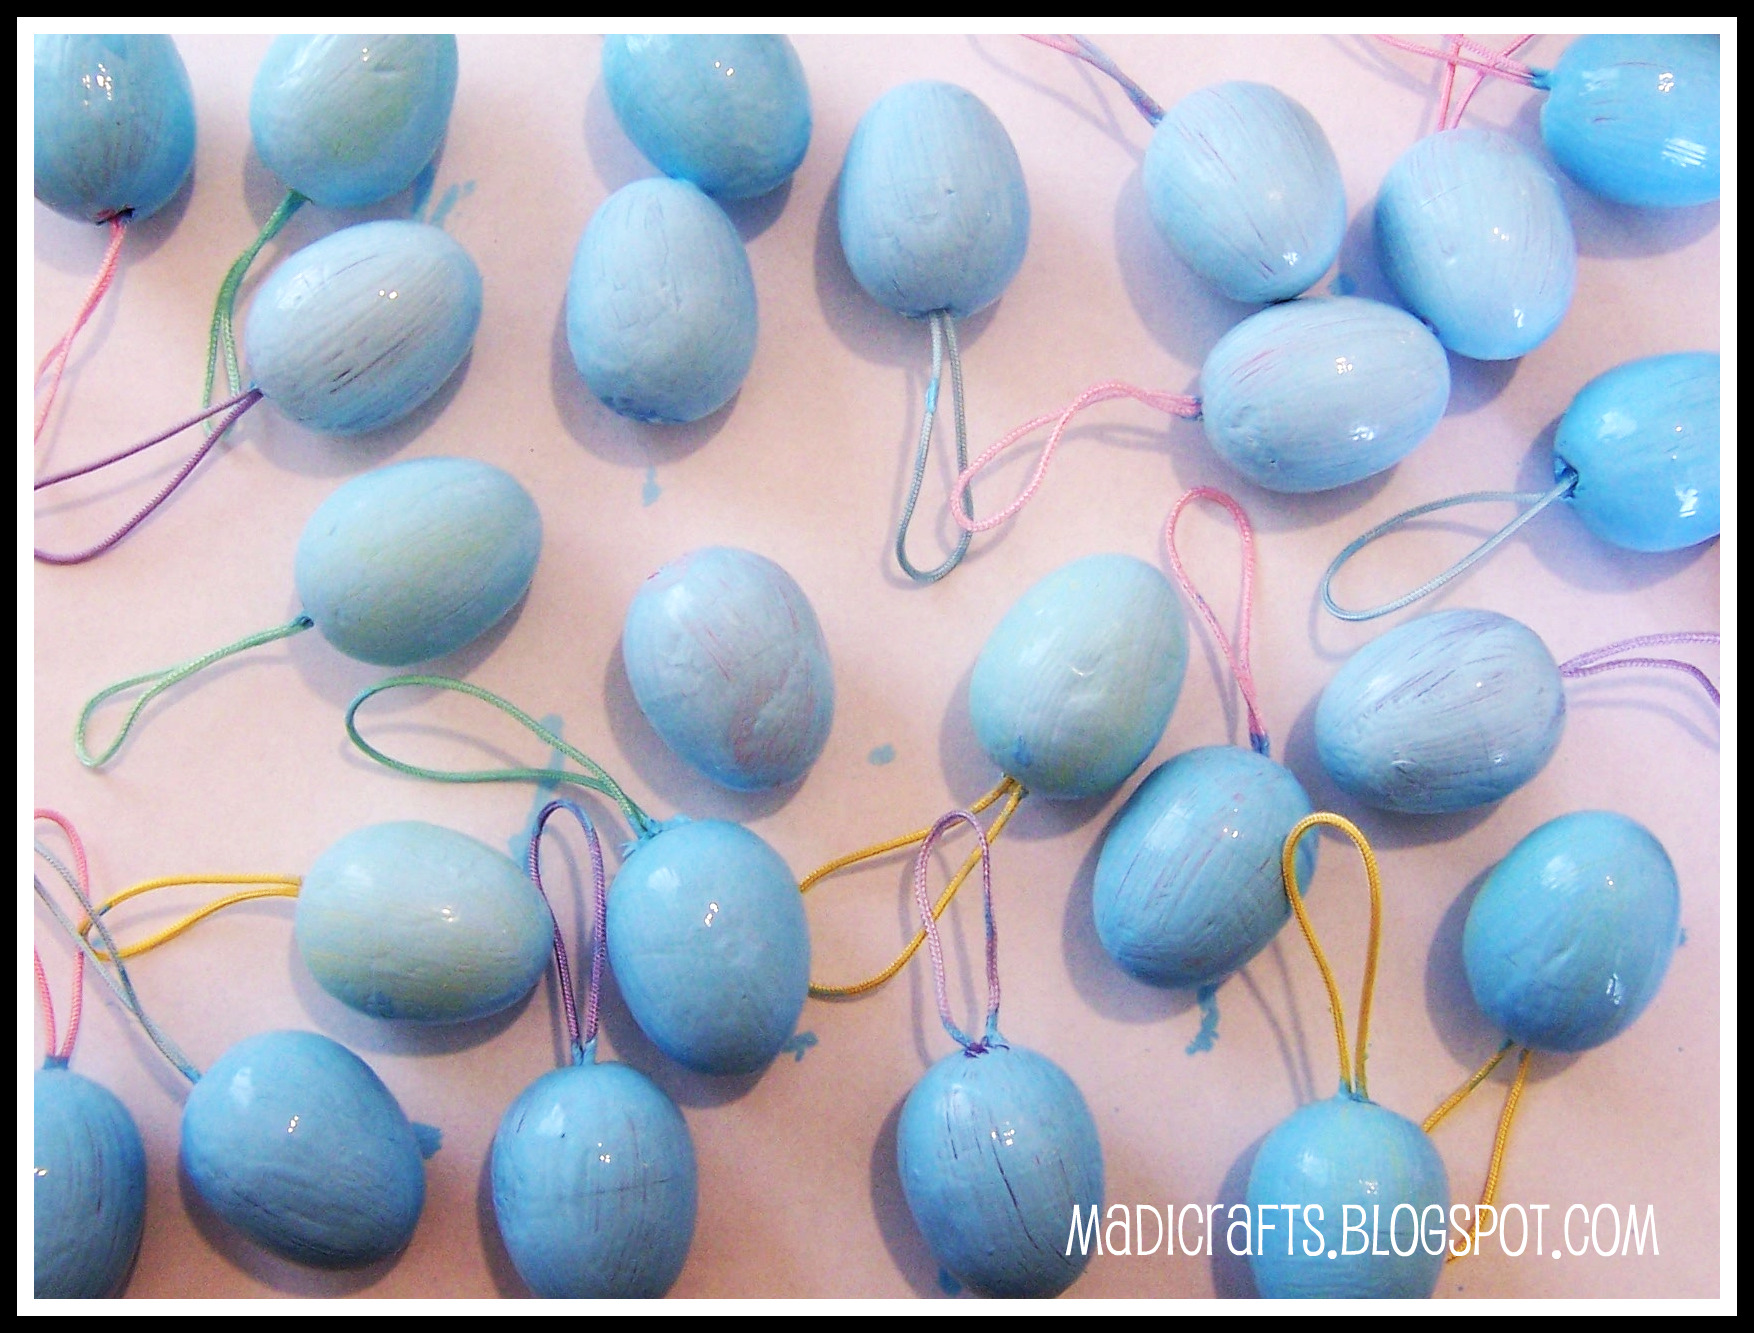
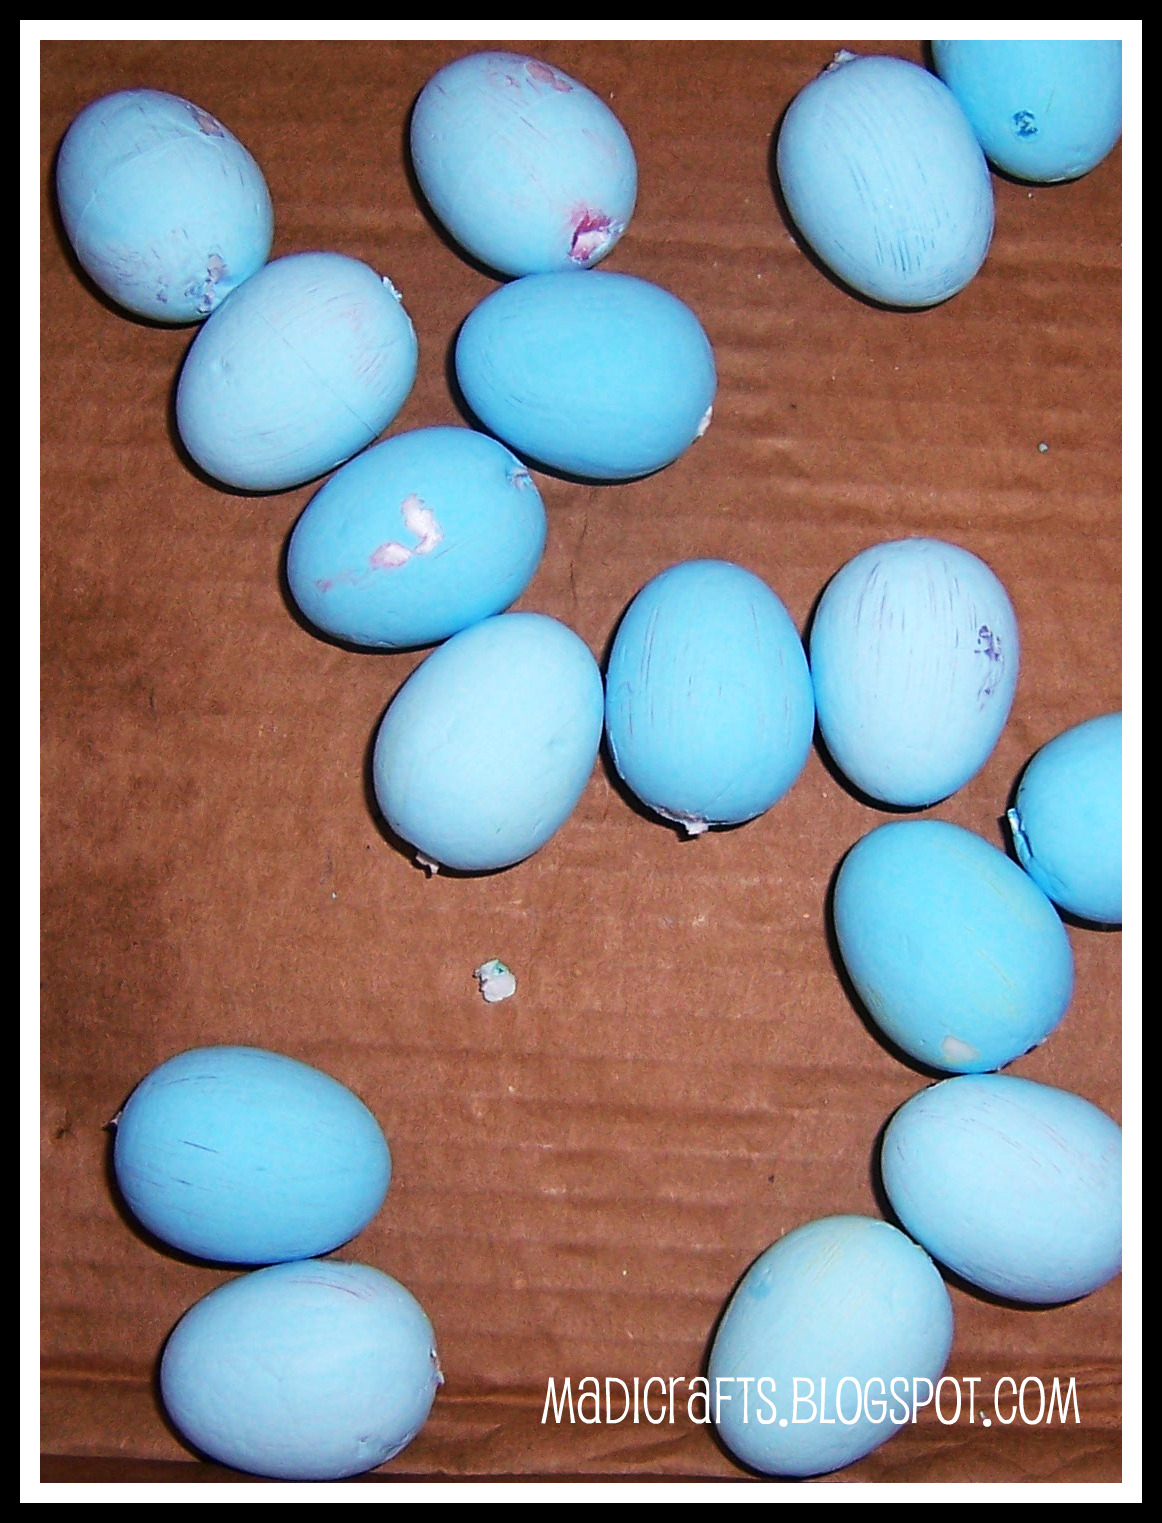
I mixed up a few craft paints until I got a color that I thought made a reasonably good robin’s egg blue color.  Holding each egg by it’s handy little hanging loop, slop some paint all over each egg.  Let dry.  Even though one coat didn’t completely cover, it was good enough for government work.
After your eggies dry, yank the hanging loops out of the ends.  You might end up taking a little bit of the paint and styrofoam with the loop.  You can touch up the paint if you would like, but nobody is going to be looking THAT closely.  Unless you have some really weird friends.  Which I do.
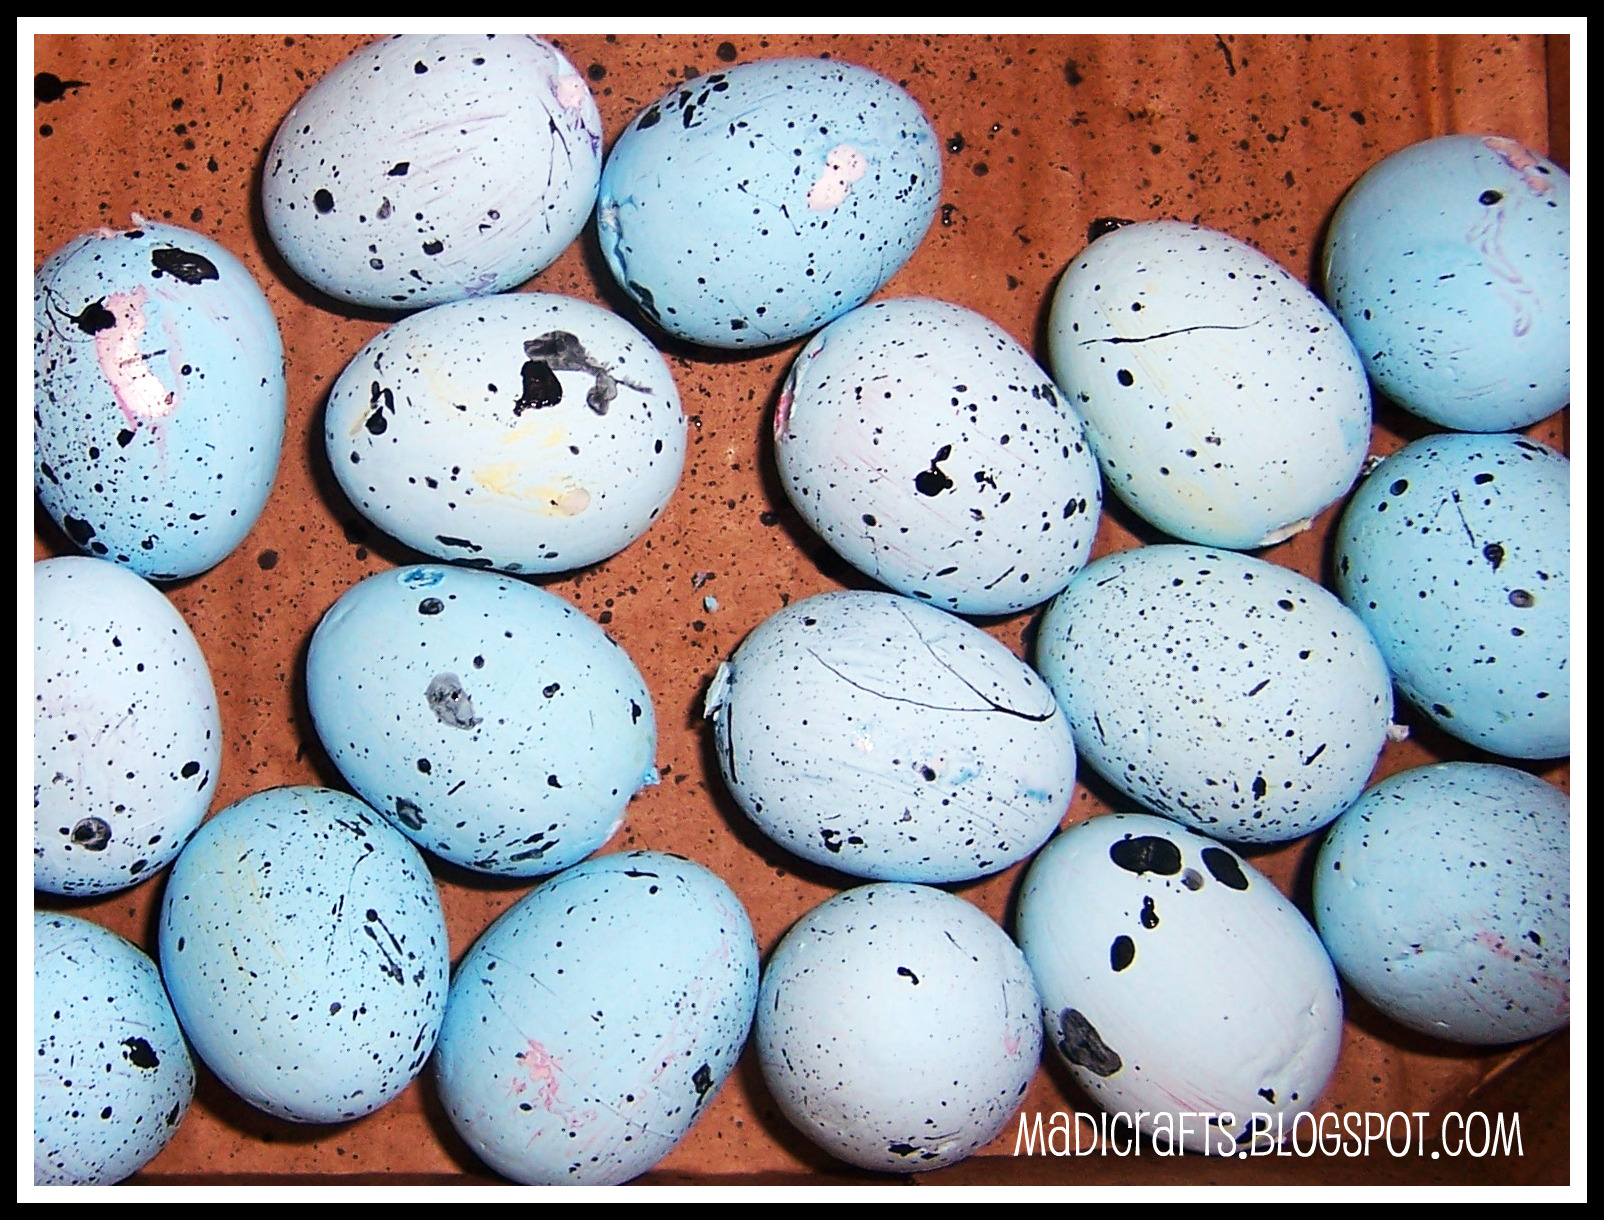
Put the eggs in a cardboard box or on a well-covered surface.  Things are about to get messy.  Dip a bristled paintbrush or an old toothbrush in black or brown craft paint.  If the paint is thick, you will probably need to thin it out, I found.  Flick the paint off the brush and onto the eggs with your pointer finger.  SPLAT!  Kids will love this part.  Keep splattering and rolling the eggs around until each egg has splatters all over it, like so:
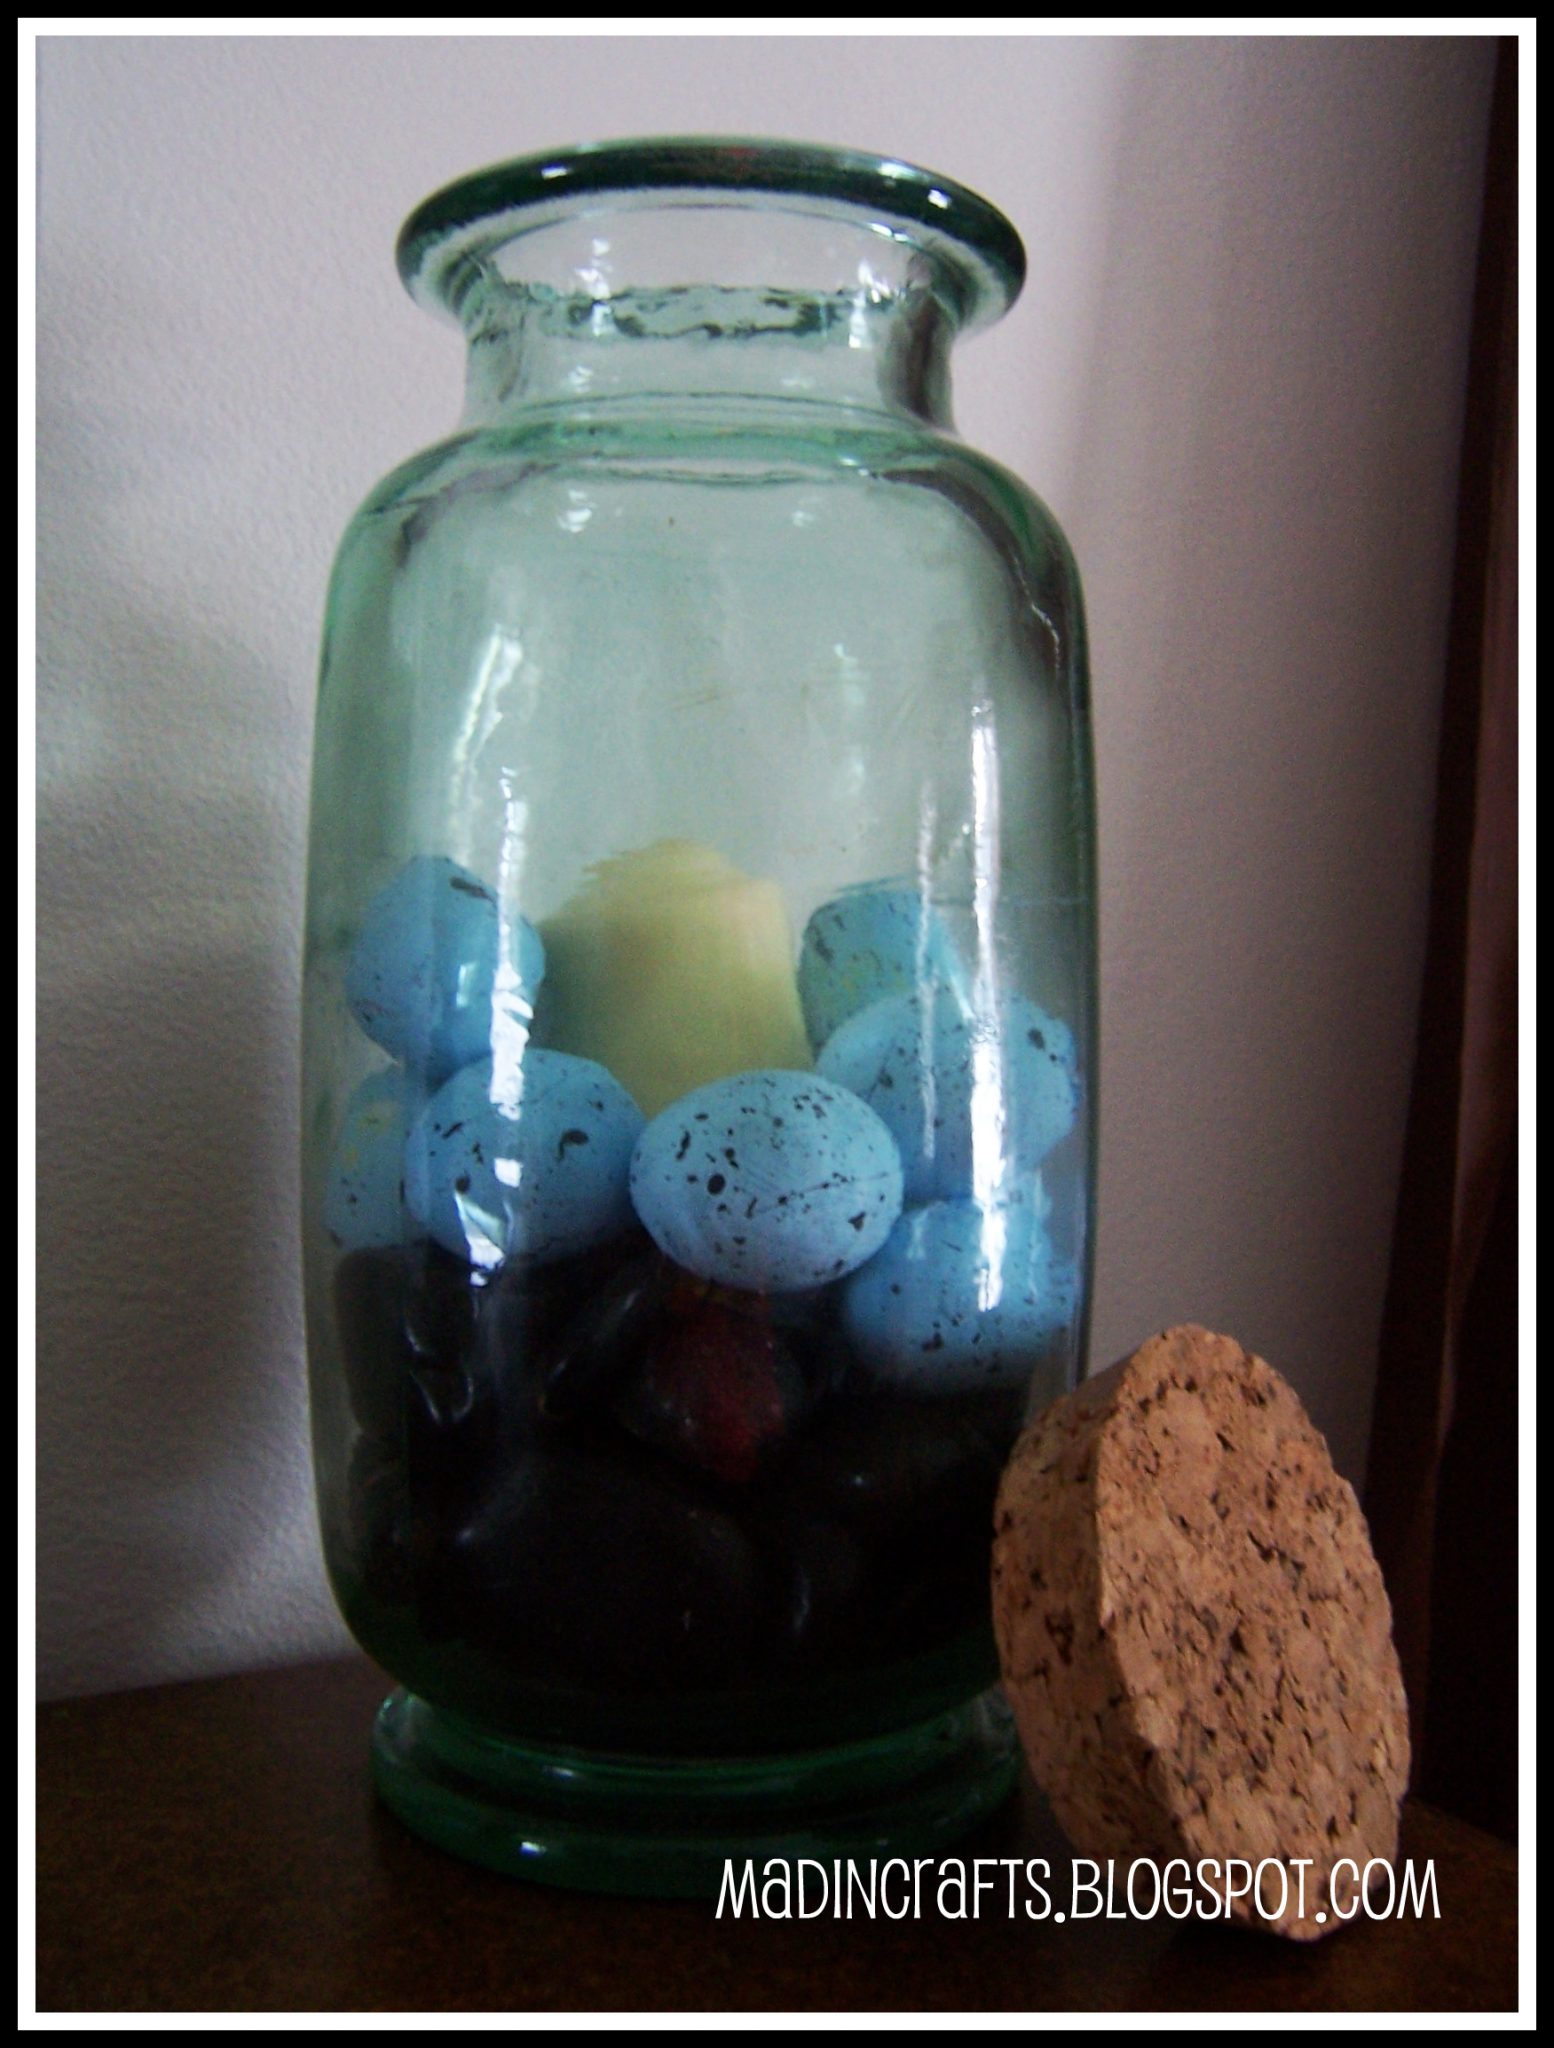
Ta Dah!  You just made a rip-off of PB’s Decorative Speckled Egg Vase Filler which is listed as $14 for 12 eggs.  That’s right, friends, you just saved yourself $26 if you made a double-batch.  Plop them in a pretty vase, bowl or apothecary jar and your home is looking more Spring-y already.
Come and check out the rest of my Dollar Barn series (with a special Ballard-Derived feature) this week on Mad in Crafts!  And, not to beg, but comments totally make my day.  :P

Sunday, January 24, 2010

Bath Fizzies

As I have two articles on this I thought I would post them both. Here they are. One from Skip to My Lou and one from Mom Advice. The first article I'll be shaping with a heart mold in stead of the round ornament and the second is an article for Christmas but put a different tag and ribbon on it and viola -- Valentine's day gift! Now to figure out what to do for my sisters. 

We thought bath bombs would make the perfect Valentine's Day gift when packaged to look like  a bomb along with a tag that says, "You're the 'bomb'!"
bath-bomb-11

DIY Bath Bombs

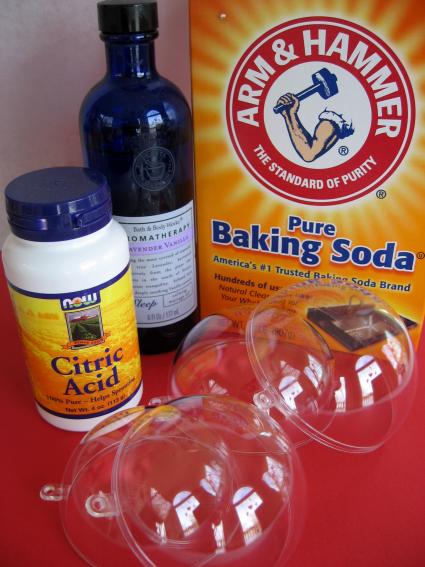
Supplies:
2 Cups Baking Soda
1 Cup Citric Acid
4 teaspoons massage oil ( or 2 teaspoons essential oil and 2 teaspoons olive oil)
Spray bottle with water
mold (60 mm 2 part plastic ball)
This amount only made 5 bath bombs.  If I was making more I would buy the citric acid online in bulk. The small bottle  you see pictured (1/2 cup) was $2.50. I purchased it from my local health food store.  You can buy citric acid online for $2.25 per pound. BrambleBerry is offering all Skip to my Lou readers 10% off citric acid, use LOU10 at checkout to receive your discount!
bath-bomb-supplies
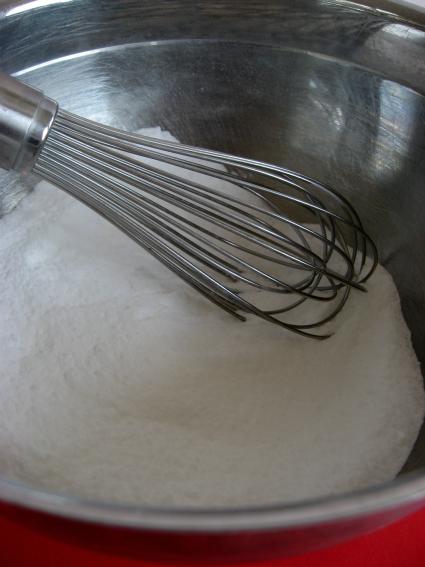
Mix baking soda and citric acid in large mixing bowl.  Mix very well! You can use an electric mixer if you like.
bath-bomb-1
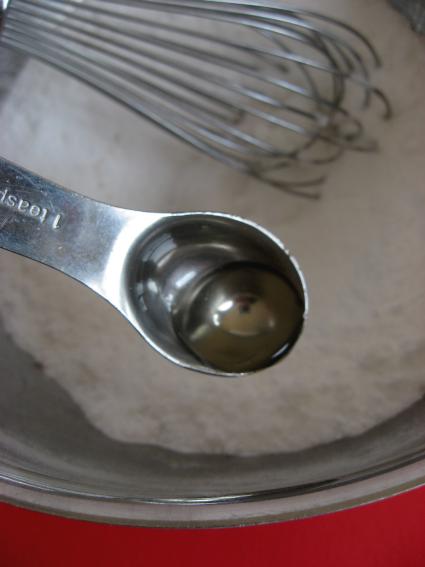
Add in 4 teaspoons of scented massage oil (or other combination of skin safe essential oil for scent and another oil for moisturizing the skin). The scent is personal, so start with a teaspoon or so and add more until you are satisfied. Mix well.
bath-bomb-2
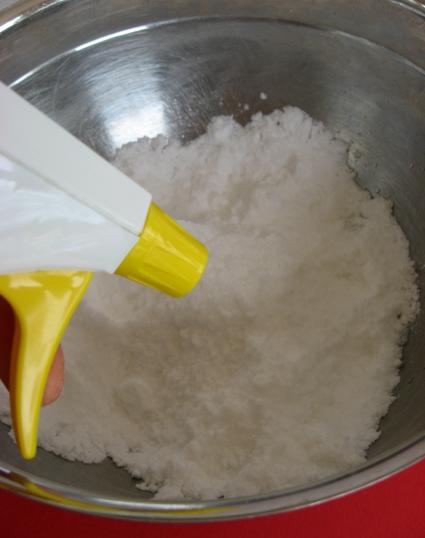
This next step can be a bit  tricky because you don't want your bath bomb to start fizzing. Start by adding a couple of fine mist sprays of water to your mixture and mix well.
bath-bomb-3
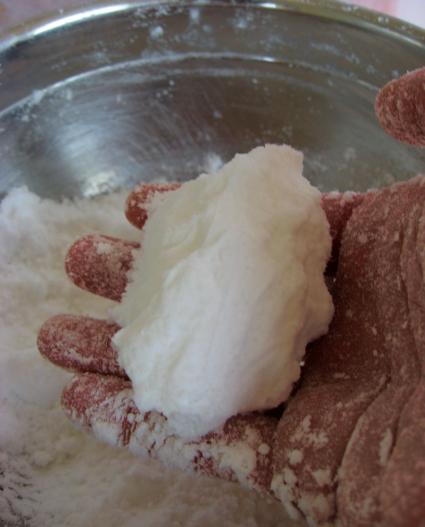
You will continue spraying until the mixture will clump in your hand when squeezed. (I used 5-8 sprays, however this will depend greatly on your local climate)
bath-bomb-4
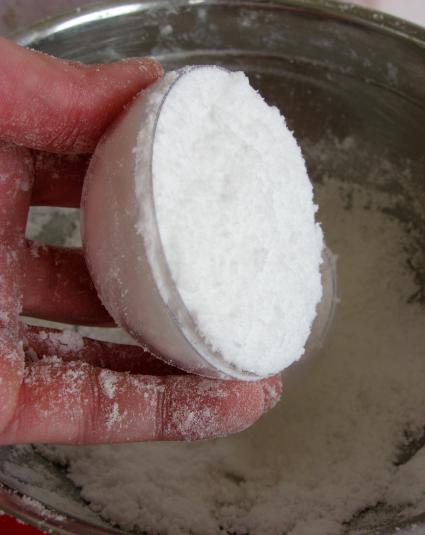
Fill one half of your mold.  Pack it tightly.
bath-bomb-5
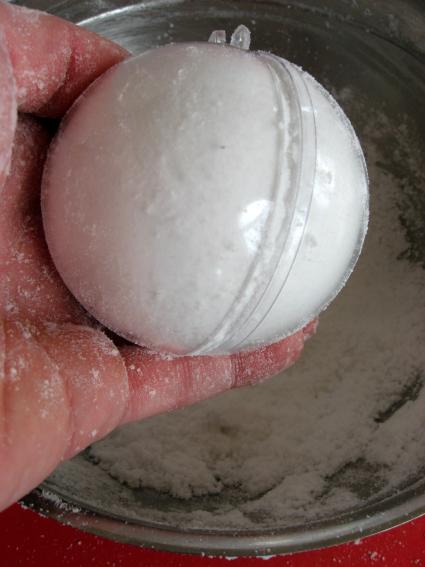
Fill the other half of the mold and place them together---don't snap together.  I slightly overfilled each half.  When I pushed the two halves together they became a ball.
bath-bomb-6
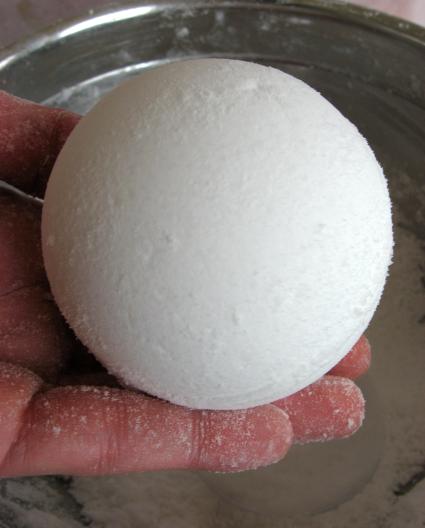
Gently remove the ball from mold.  If I had problems with the ball coming out easily  I dumped the mixture back into my bowl, added a mist of water (carefully), mixed well and then tried again.
bath-bomb-7
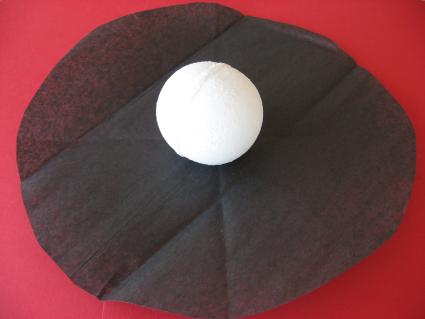
Cut out about a 10 inch circle of black tissue paper.
bath-bomb-8
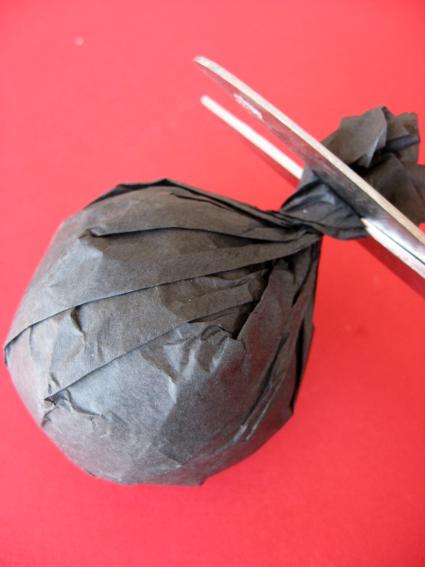
Wrap tissue up around your bath bomb and trim if necessary.
bath-bomb-9
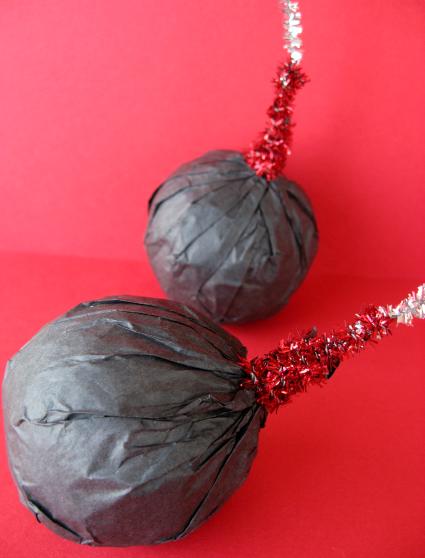
Place a silver pipe cleaner in the center and then wrap a shiny red pipe cleaner around the the tissue paper and silver pipe cleaner.  Add a tag and you are finished! You might want to write instructions for using the bath bomb on the back of the tag.
bath-bomb-10
The bath bomb worked great. It provided fizz, bubbles and fun for my daughter's bath.
bath-bomb-12
Enjoy!
These were very simple bath bombs.  If you are interesed in more recipes and detailed instructions, the internet is a great resource. Try Teach Soap for loads of bath and body recipes!


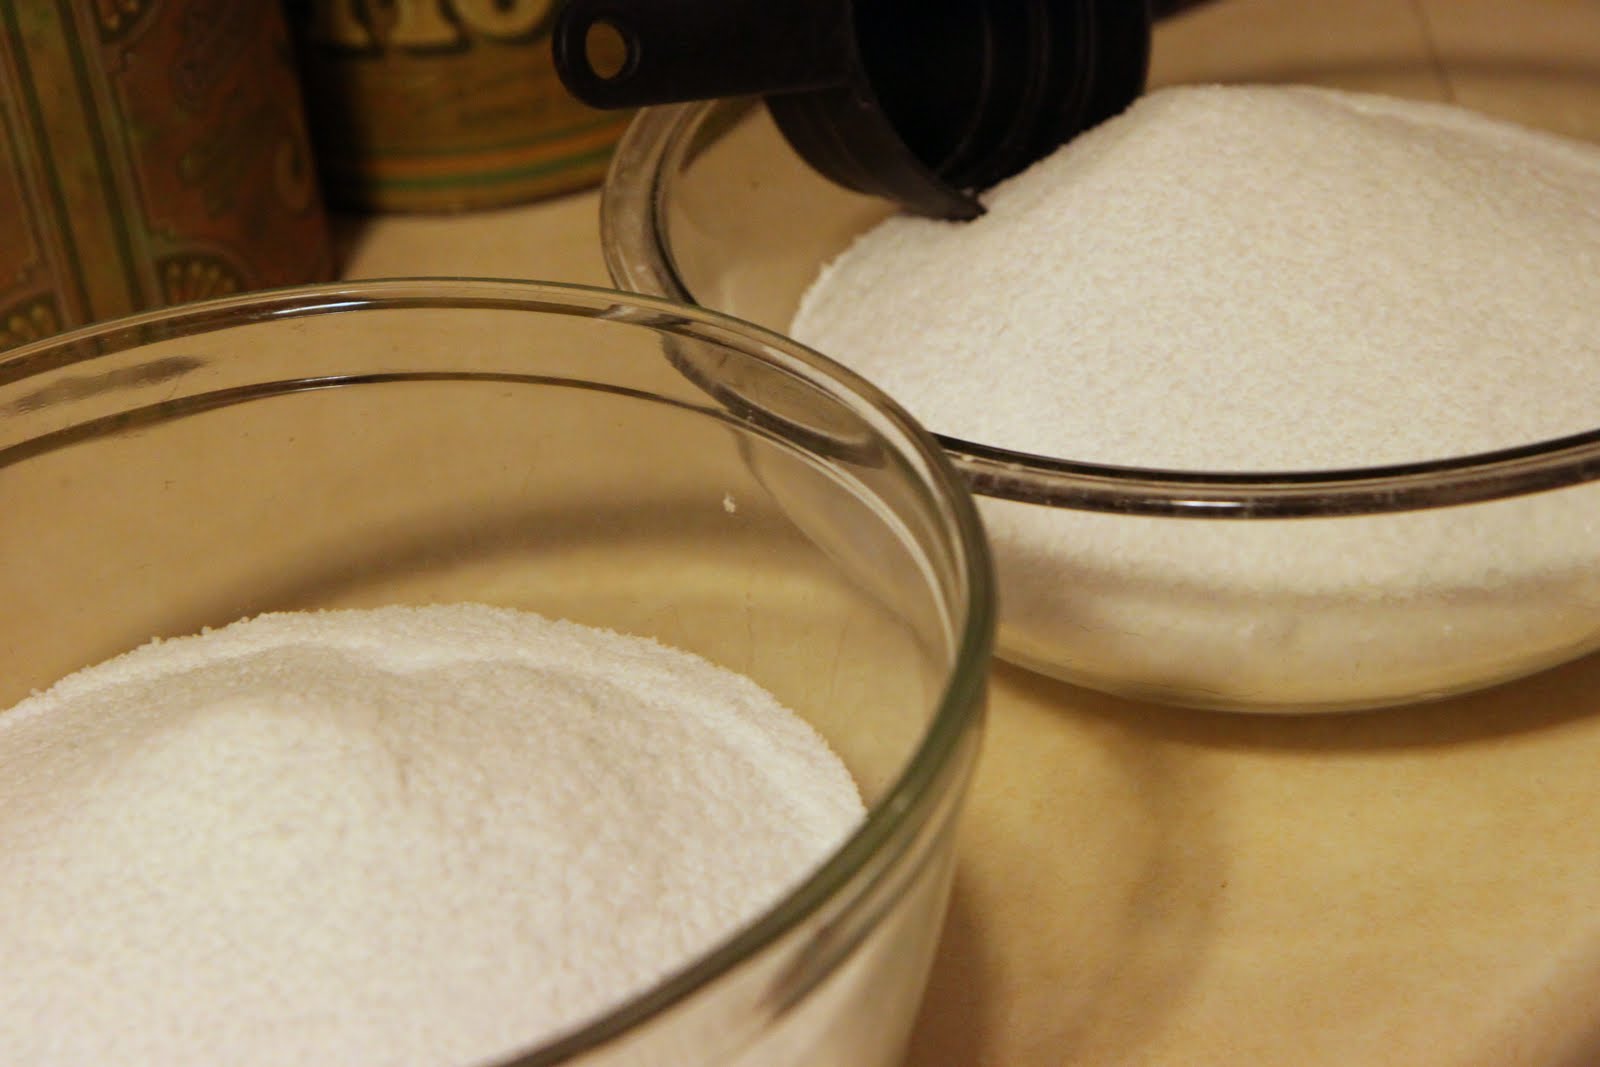
I took a picture of all of the ingredients needed so you can see exactly what they look like when you go to the store. Don’t you hate it when you can’t picture what you should be looking for?
The kosher salt is over in the baking aisle with the regular salt, the Epsom Salts should be over in the first aid supplies of your superstore or drugstore, and the glycerin will be behind the drugstore counter where you pick up your prescriptions (and can also be used for your giant bubbles in the summer).
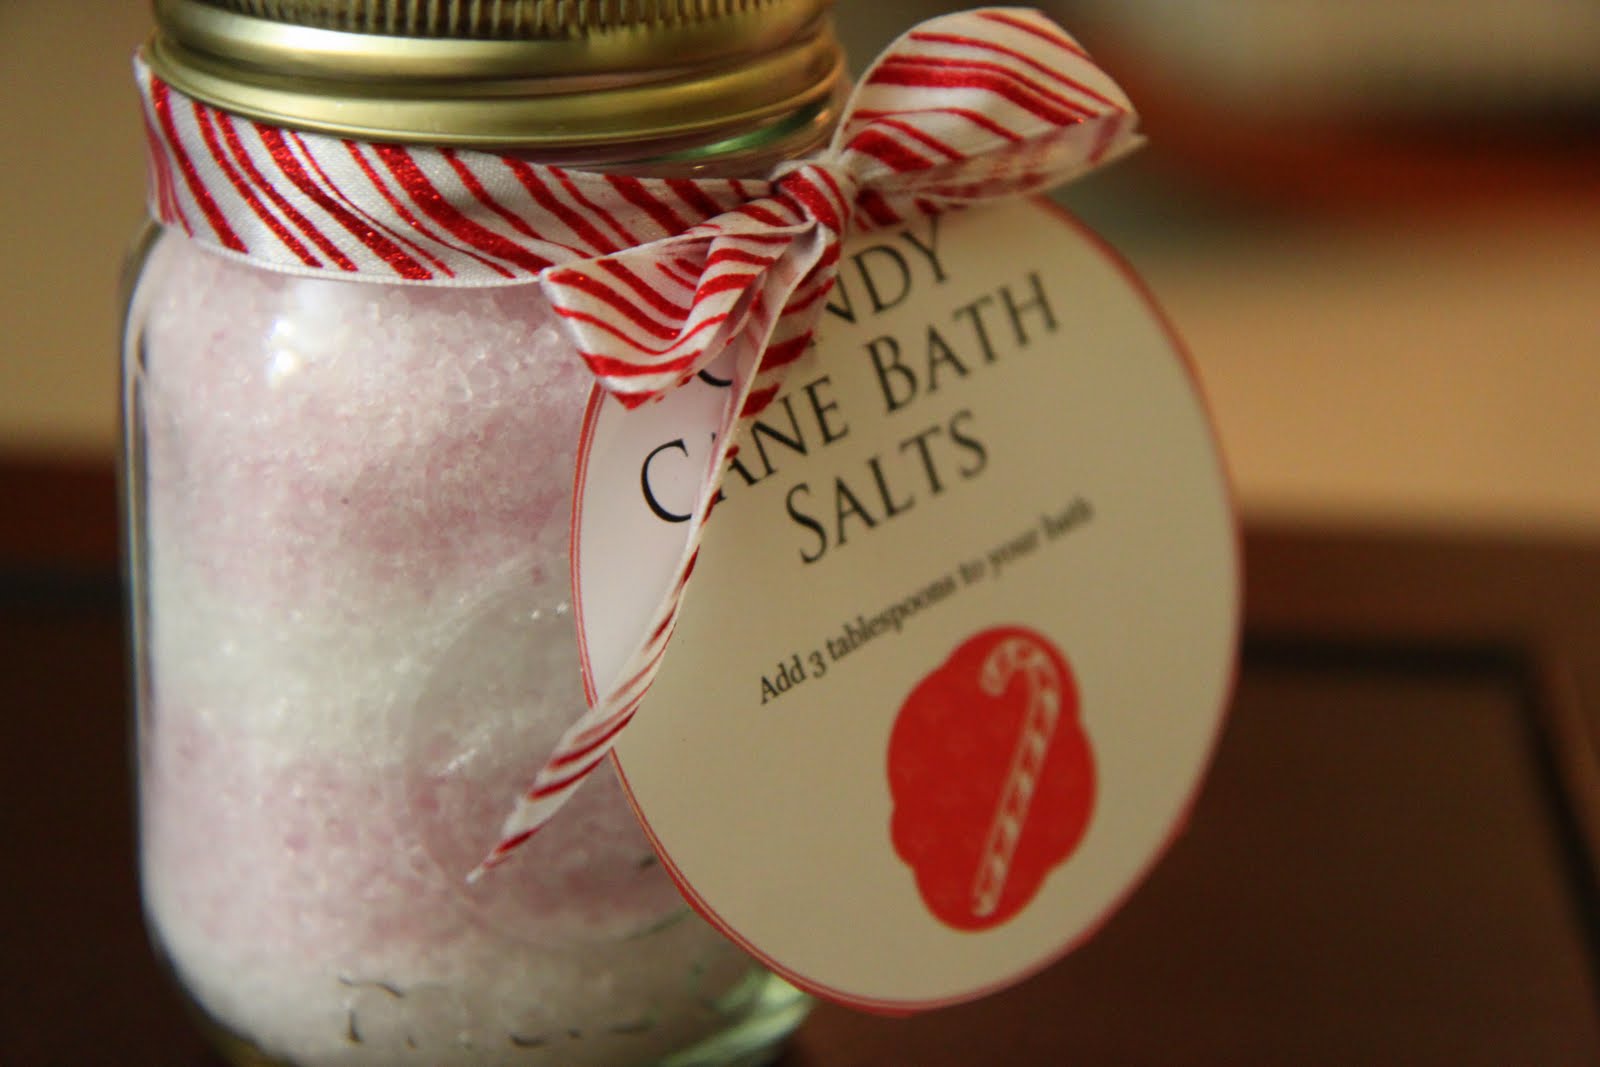
Now head to your craft store and go into the aisle where the soap making and candle making supplies are. There you will find colorants to dye your bath salts (you need the package with red in it) and the essential oils needed (for this craft it will be the eucalyptus mint). The last thing you can buy is some peppermint striped ribbon or whatever is on sale and festive will totally do the job!
As for jars, I found those at Big Lots and you can get a dozen of them for $6.50 or check the canning supplies section of Walmart (our store was out). I hope that helps with your shopping list and helps with the visuals for what to look for!
You will need two big bowls for this and a giant spoon to mix with. Don’t you love crafts that don’t require a lot of equipment? Now, empty one bag of Epsom Salts into one bowl. Next add 3 cups of your kosher salt, and stir well. Then stir in 1/4 teaspoon glycerin and eight drops of your eucalyptus essential oil. Mix well.
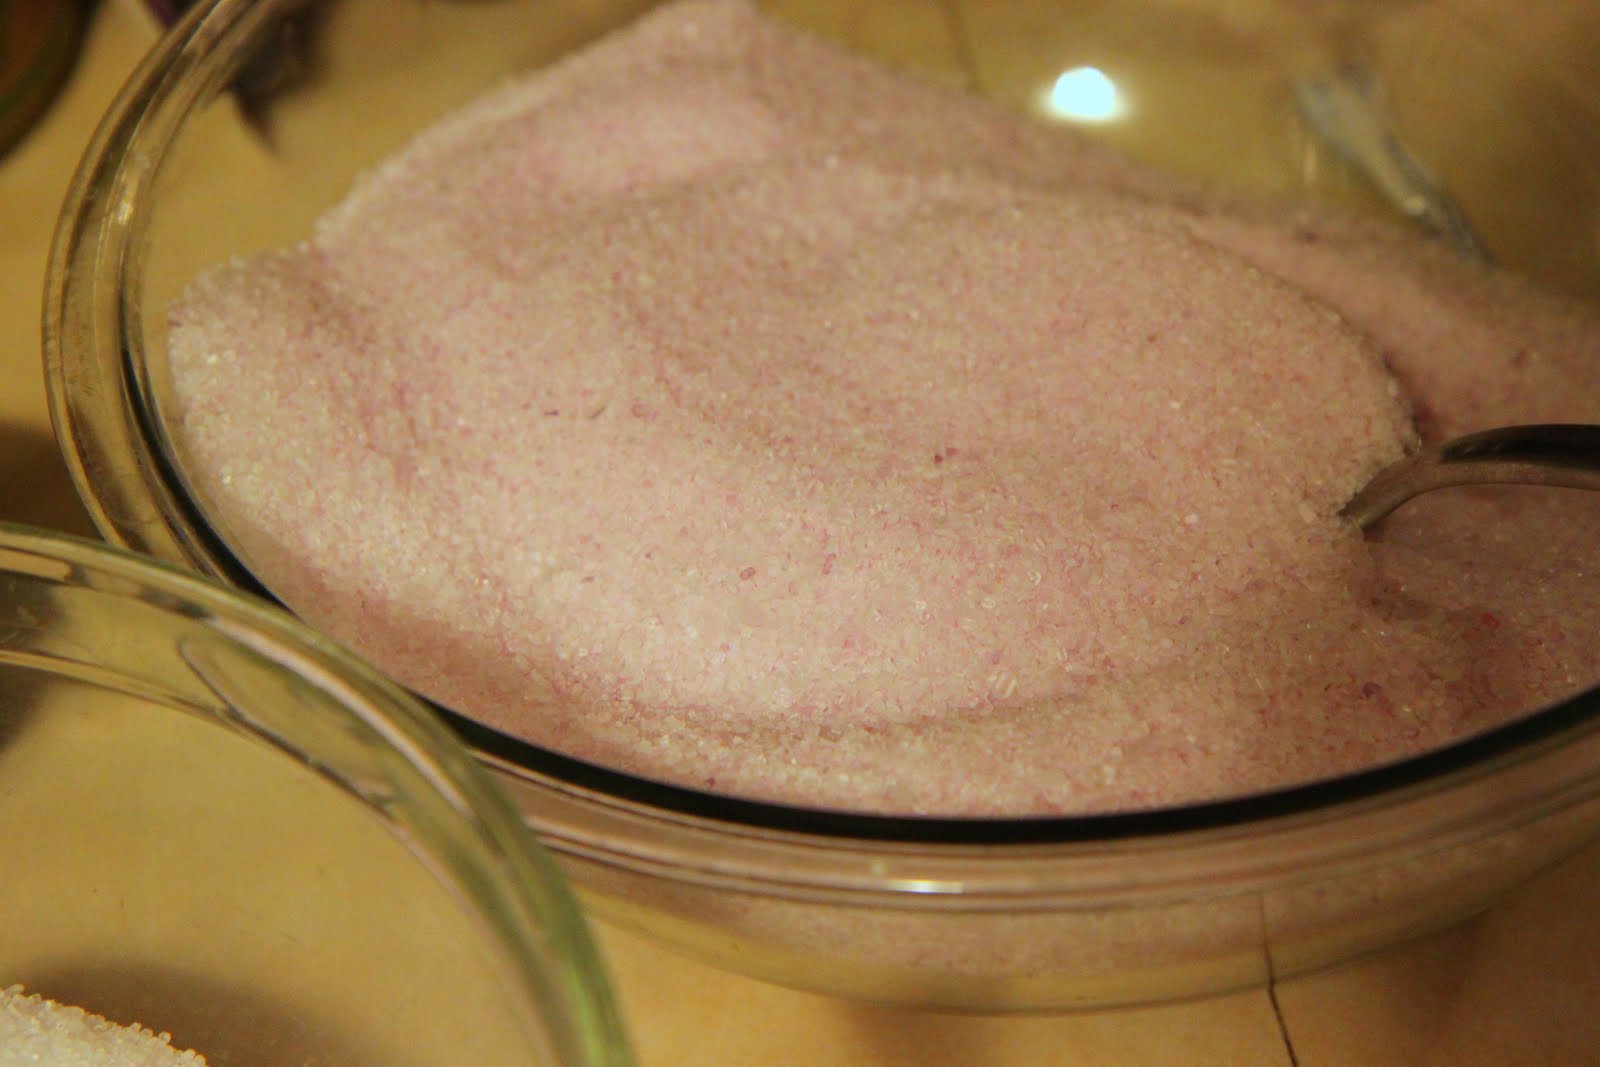
In your second large mixing bowl, empty one bag of Epsom Salts and add 3 cups of your kosher salt. Stir well. Next stir in 1/4 teaspoon glycerin and eight drops of your eucalyptus essential oil. To this bowl, you will add fifteen drops of your red colorant. This will give you a pale and pretty pink bowl of salts. Mix this side really well to incorporate the coloring throughout this batch.
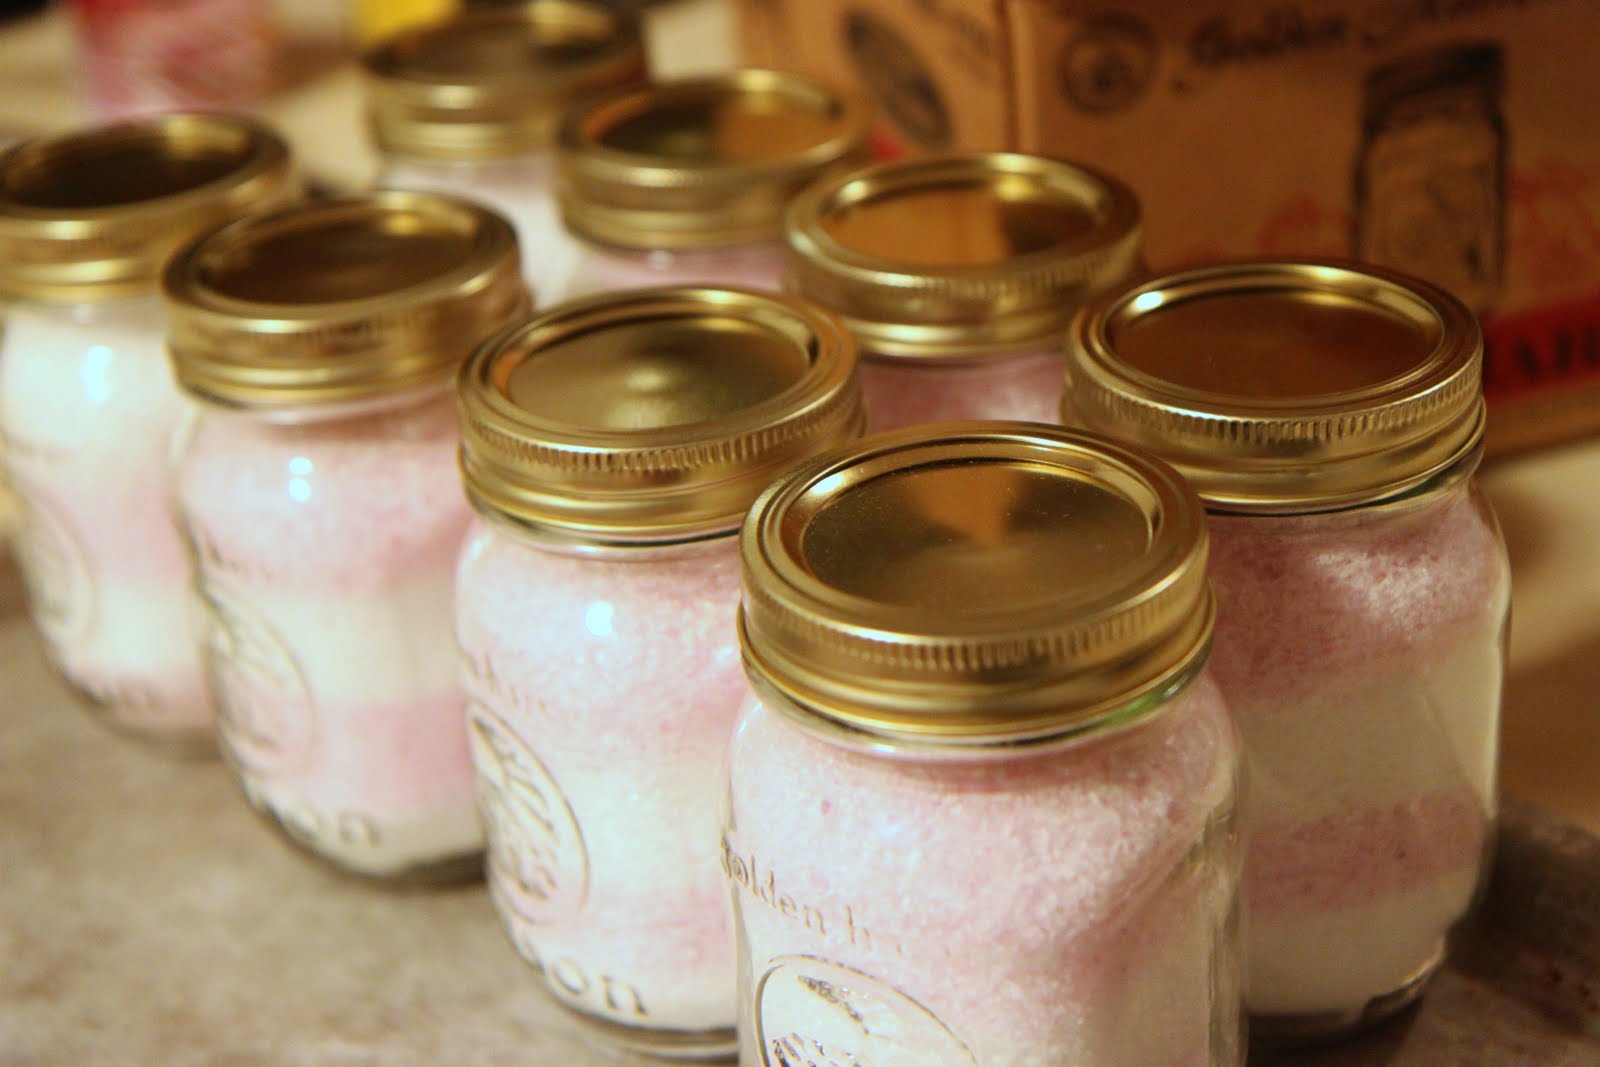
Now grab a 1/2 cup measuring cup and start doing layers to create the peppermint candy look in the jar- a layer of white, a layer of pink, a layer of white, and then a layer of pink. I would recommend filling them on a cookie sheet to catch any runaway salts and to make clean-up a little bit easier. Once everything is filled, you should have 12 jars full and even a little leftover for yourself.
Now tie your gift up with a little festive ribbon and a beautiful gift tag instructing the recipient to put three tablespoons of salts in the bathtub to enjoy a relaxing holiday bath.
****************
Candy Cane Bath Salts

12 tall jelly (12-ounce) canning jars with lid and rings
2 bags of Epsom Salts, 4 pounds each (approximately 16 cups)
4 lb kosher salt (approximately 6 cups is needed, buy two boxes and cook with the rest)
1⁄2 teaspoon glycerin, divided
16 drops eucalyptus peppermint essential oil
15 drops red colorant
Empty one bag of Epsom Salts into large mixing bowl. Add 3 cups kosher salt, stir well. Stir in 1/4 teaspoon glycerin and eight drops of eucalyptus
essential oil. Mix well. In second large mixing bowl, empty one bag of Epsom Salts, and add 3 cups kosher salt. Stir well. Add 1/4 teaspoon glycerin, eight drops of eucalyptus essential oil, and red colorant. Stir until completely blended. Color should be even. Using a 1/2 cup measuring cup and fill canning jars at an angle, layer salts in jars, alternating white and colored mixtures.

****************

Just to make your gifts a tad more festive and to ease the burden of making those gifts, we have included free gift tags to download and print for the holiday season!
Free & Beautiful Holiday Printable Gift Tags
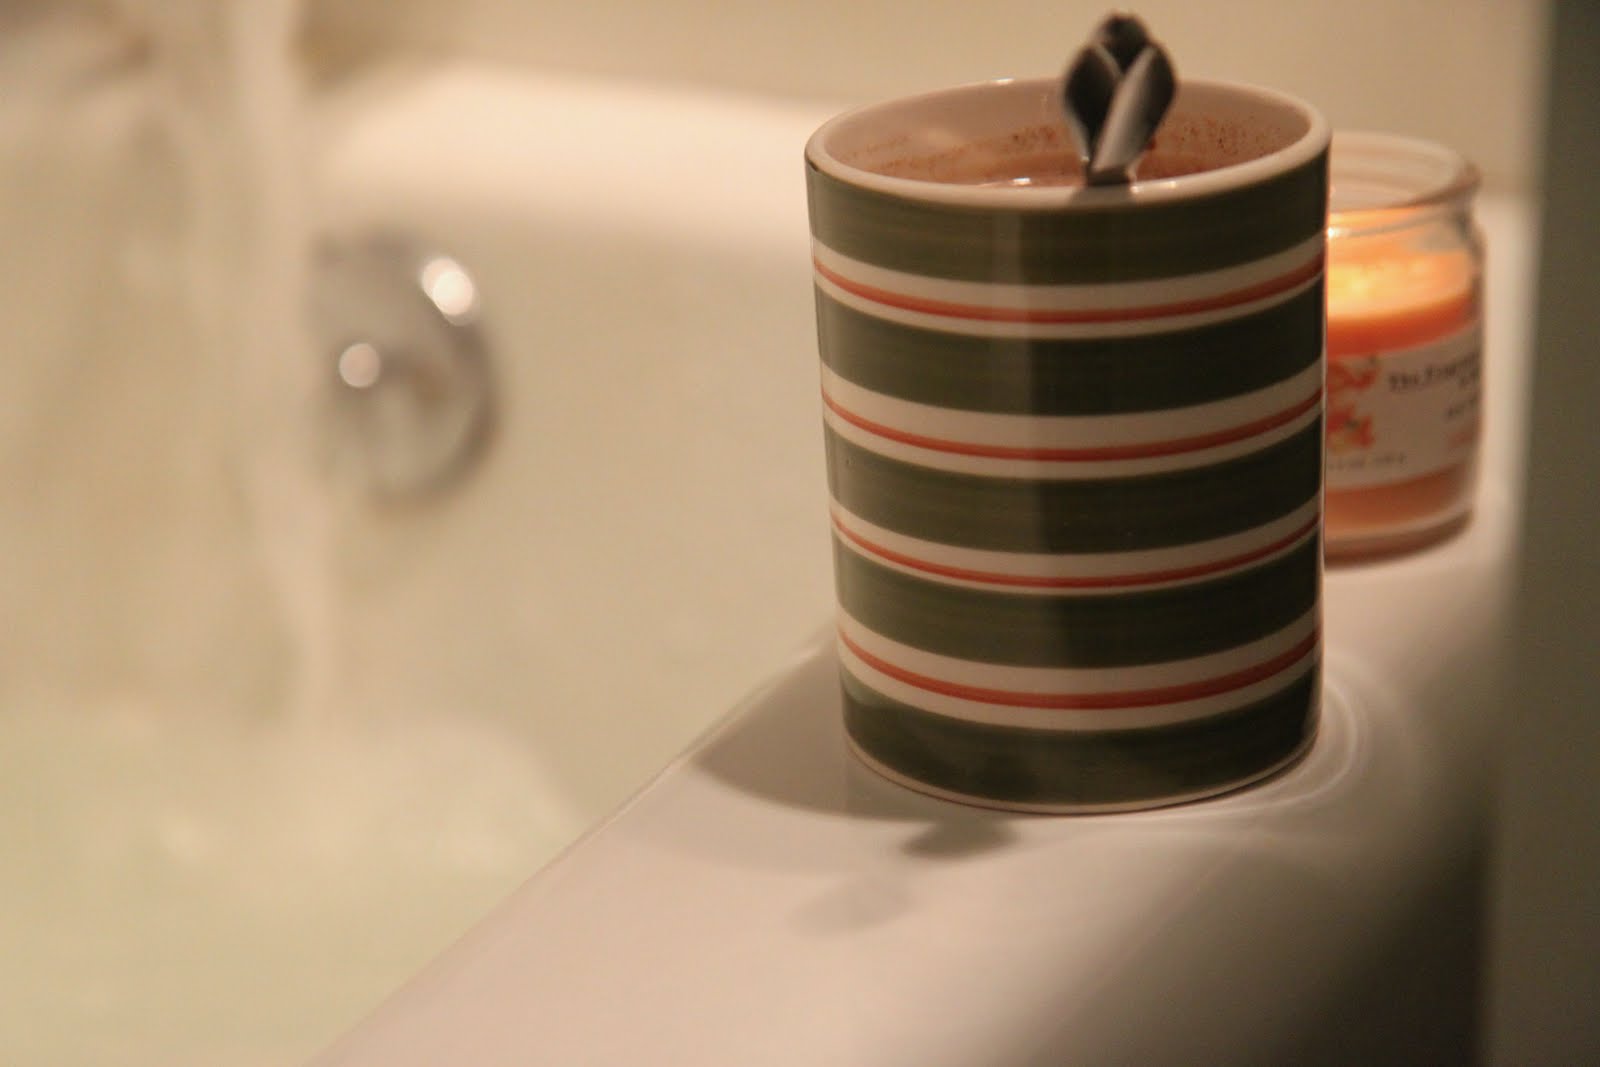
Luckily for you, there will be just a tad too much of both of these bath mixtures to fit into the jars and you will be forced to partake of your efforts. Throw whatever is left in that food processor or bowl and put it into your bath. Now fix yourself a cup of vanilla chai tea, light a candle, and smuggle in a good book or magazine. Promptly, lock the door and pretend like you have no idea how that happened when everyone starts knocking. Enjoy a moment to yourself and relax, you deserve it!

Saturday, January 23, 2010

Lovey Dovey Soap

Here's another favorite from Skip to My Lou. I think I will make these for my mom this year with some homemade bath fizzies. Bath fizzies to come tomorrow.

Even the bathroom needs a little holiday cheer!
soap-1.jpg
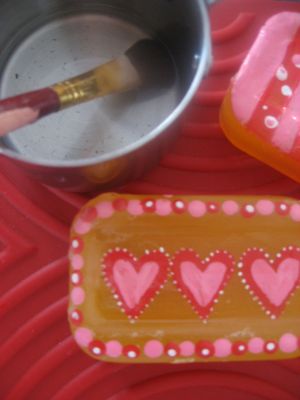
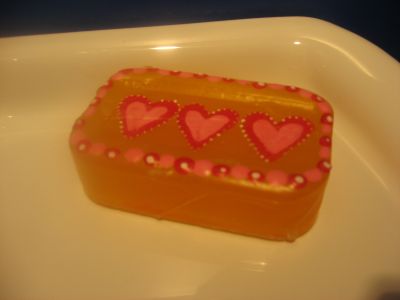
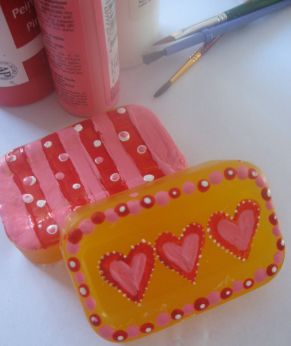
Paint Glycerin soap with acrylic paint. One side of the soap needs to be non-imprinted, so you have a nice area to paint on.
soap-2.jpg
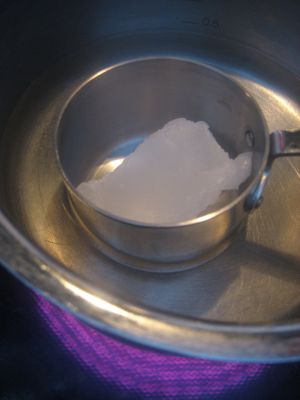
Melt paraffin in a double boiler situation. I used a metal measuring cup set in a pan of water. An old food can could also be used. Wax is highly flammable so it is best to melt it in water. DO NOT allow any of the water to get into the wax!
soap-3.jpg
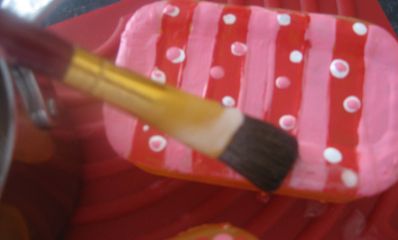
Brush a thin coat of melted wax over your painting. Do not paint the sides or bottom of your soap. The wax must be very hot to give a clear coat. It is probably best for an adult to do this step while wax is still at the stove so it remains very hot.
soap-4.jpg
soap-5.jpg
When you use your soap the wax will protect your paintings.
soap-6.jpg