Too Many Good Things Out There Not To Share Them With You!

Showing posts with label valentine's. Show all posts

Thursday, February 18, 2010

Anytime Dessert Trays

LOVE this idea from tatertots and jello. I can't wait to make a bunch of these for every holiday and season. Can you see why my mother says I overdo a good thing? Now if only I had a place to store all these things. Hmmmm.......

Valentine Project: $2 TIERED Dollar Store Tray

I had so much fun making my Dollar Store tray that I decided to make a tiered Valentine-ish one too. Although I like it so much I think I will use it all Spring and maybe Summer too! It's so bright and happy looking!

If you want to make one, here are the trays I used from the Dollar Tree:

I pretty much followed the steps I used making the first tray, which are found HERE. I cut the paper into strips , but I didn't want the top and bottom trays to be too matchy-matchy, so I mixed it up a little.

And I added feet just like I did to the first tray, although I painted them off-white instead of black.

I also used a little silver candlestick that I had laying around. I was going to paint the candlestick, but I like the shine it gives the tray so I left it silver.

Also -- I wrapped a pink striped ribbon around the underneath of the top tray where you can see the paper edges. I meant to take a picture of that, but forgot. I will try to take one tomorrow and update it.
I am excited to use it on Valentine's night to put my dessert on. So fun!

Saturday, February 13, 2010

I Won't Call You Procrastinators......I'll Call You Prompt Challenged

From Skip to My Lou
One again the web is overflowing with free Valentine printables. If you are in need of some last minute Valentines that can be printed right at home check these out!

Jeanne Winter's printable Udaman Candy Bar Wrappers are perfect for your man!

Little Miso shares her lovely card.

Rubber Punkin has these Valentines with awesome graphics

These little cuties are from Style Crush

I am loving Secret Agent Josephine's cute animal Valentines.

Vintage Holiday Crafts have these free vintage Valentines. Visit the site and click on a picture to download a larger individual Valentine.

Hotcakes has some cute Valentines that can be colored.

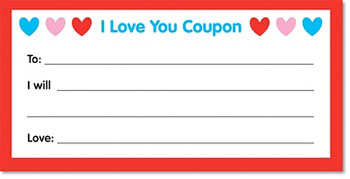
Also check out her printable love coupons.

mmmcrafts shares these adorable would you be mine Valentines.

Zakka Life has these cool rockin' Valentine wrappers for suckers.

Cottage Industrialist shares her  fun rocket Valentines.

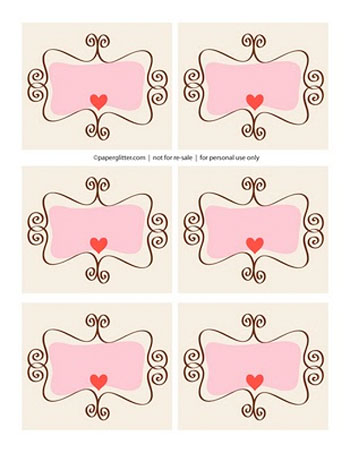
and if you need some pretty gift tags Paper Glitter can fix you up with these
and these.
Or Living Locurto has these fun tags that fasten to the top of a sandwich bag. She also has matching Valentines.
I hope you liked these free Valentine printables!
Check out last year's round-up of free Valentines.
You might also be interested in making a Lollipop Lily Valentine, Butterfly Valentine or a Ladybug Valentine.
More ways to celebrate Valentine's Day can be found here.

Sunday, January 31, 2010

More Valentines - Treat Bags

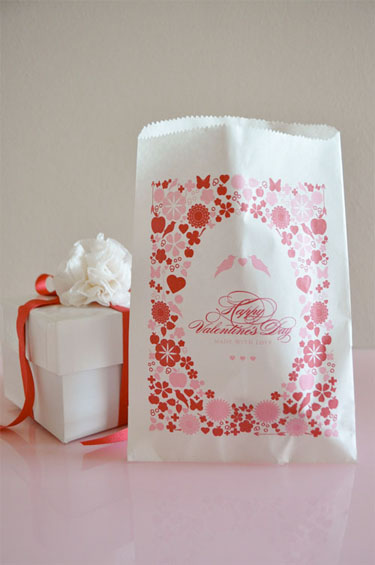
From one of my very favorite blogs, Twig & Thistle, comes these fabulous free printable Valentine treat bags and favor box.
Print the download on white paper sacks to make the most darling DIY Valentine Goody Bags.

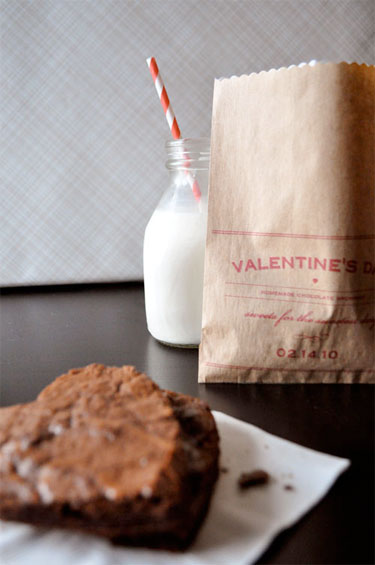
These DIY Brownie Bags make the perfect packaging for heart shaped brownies.

And for the apple of your eye a little DIY Sweetie Pie box to hold an apple hand pie.
...such sweet goodies.  Enjoy!

Thursday, January 28, 2010

I NEVER Would Have Thought of This!

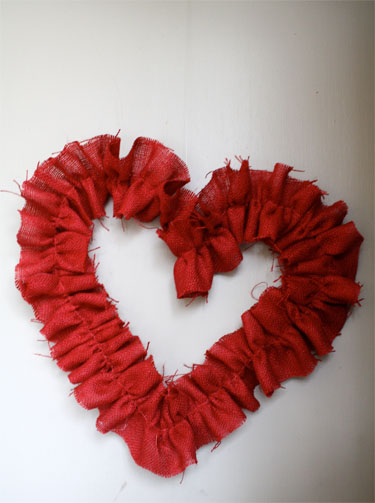
So pretty and I'll probably add letters to this one too with my die cutter. It's going on the front door tomorrow though! From Skip to My Lou, of course.

I have a double front door and need two door decorations and wanted something inexpensive.  When I saw this red burlap on sale this week at Hobby Lobby for $1.99 a yard I decided the price was right. I realized for less than two dollars I could make two wreaths.

Supplies for 1 wreath

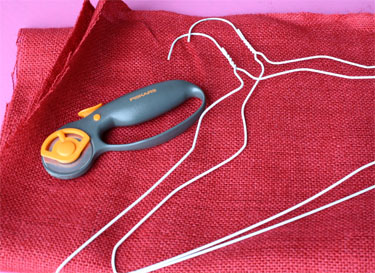
1 metal hanger
12" X width of  burlap (my burlap was about 50" wide)
glue gun
a rotary cutter to make cutting the strips easier
dental floss

Instructions

Cut 3 - 4" X about 50" burlap strips. Sew these three pieces together, so you have one long strip. To gather the burlap, machine zig zag stitch over dental floss.  I used red cinnamon flavored floss so it wouldn't show, even though it looks white in the picture. Pull the floss and gather the burlap.

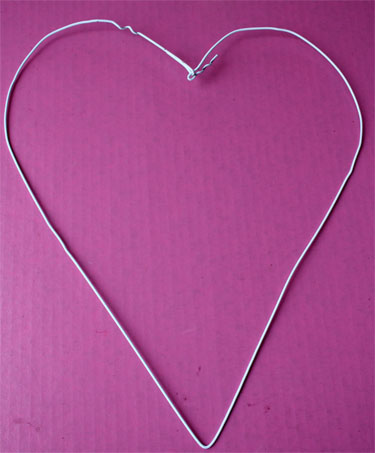
Bend 1 wire hanger into a heart shape.

Adjust gathers to fit around frame, cutting off any extra that isn't needed. Hot glue to wire frame. I used clear fishing line to hang, but a pretty white bow would be nice.

If you want a no sew method, Craftaholics Anonymous gathered the burlap by threading it about every three inches or so right onto the wire Hanger.

Wednesday, January 27, 2010

Another Valentine's Day Classic

Here's another one we probably made as kids but have not in a while. So here's the tutorial in case you forgot from Skip to My Lou. I'm thinking about adding letters to the mobile and using my cricut I received for Christmas -- thanks mom and dad!!!

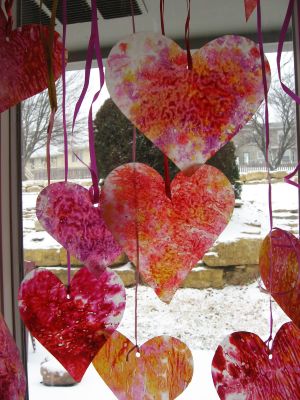
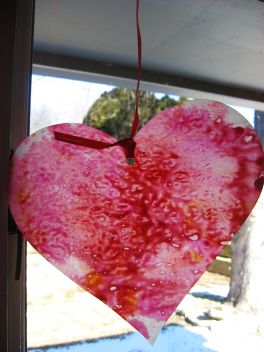
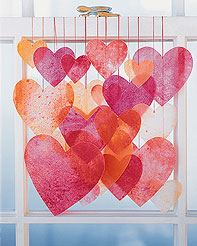
Crayon shavings melted between wax paper and then cut into hearts make a beautiful display in windows. This is an oldie but goodie craft that we love. Here are ours made with lots of kid help! I can't think of anything more cheerful or happy hanging from a window.
crayon-hearts-1.jpg
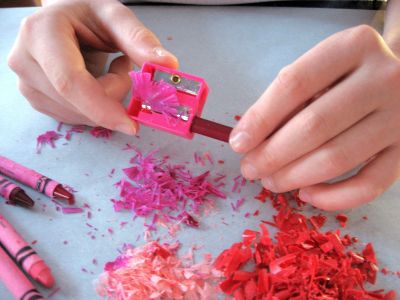
We made lots of crayon shavings with a pencil sharpener.
crayon-hearts-2.jpg
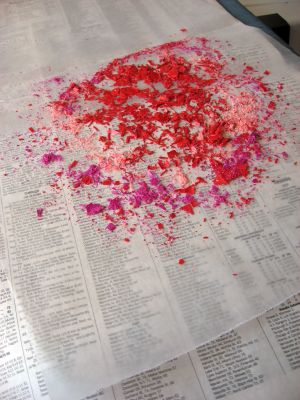
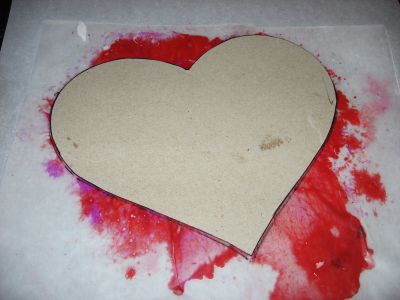
Place shavings on a piece of wax paper.
crayon-hearts-3.jpg
Either place another piece of wax paper on top or fold over the edge to cover all of the shavings.
crayon-hearts-4.jpg
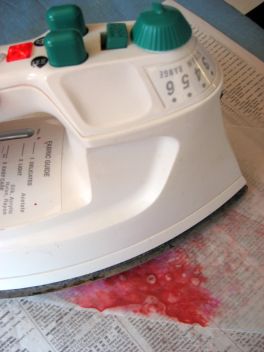
Iron on the lowest setting for about 1 second. You can go always go longer after checking to see if the shavings have melted. Be careful to not burn the wax paper. It is a good idea to do the ironing on a piece of newspaper. Some shavings could leak out of the sides and it does leave a residue underneath the wax paper. If you are worried about your iron, just place your wax paper between two sheets of newspaper or scrap paper.
crayon-hearts-5.jpg crayon-hearts-6.jpg
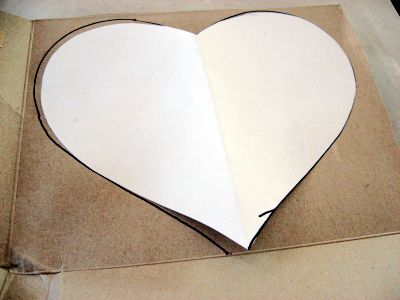
I think it is easiest for kids to trace around cardboard so I took cereal boxes and cut out heart shapes to be used for patterns. This is where you get variety so let the kids draw the hearts.
crayon-hearts-7.jpg
Draw around your pattern.
crayon-hearts-8.jpg
Cut out, hole punch and tie on ribbon, thread or fishing line. Hang!
crayon-hearts-10.jpg
Martha has directions and a gorgeous display at her place.
gt076_crayheart01_l.jpg

Monday, January 25, 2010

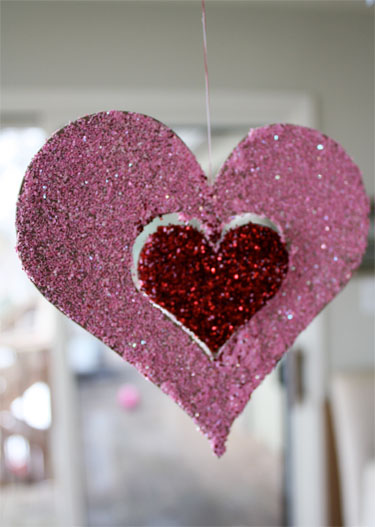
Good Old Glitter Hearts

It's glllllllllllllllllllitter! My little people L-O-V-E glitter so I think we will make these during our valentine's day party this year. They're from you guessed it, Skip to My Lou. What, she has great stuff. More blogs to be featured - don't get your panties in a wad :0)!

I will say right up front ---- this little craft was messy. It kept small hands busy for quite awhile --but for a price! So if you don't LOVE glitter stop reading! You will like these hanging hearts better!

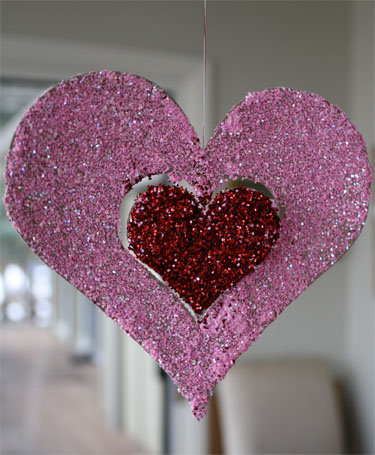
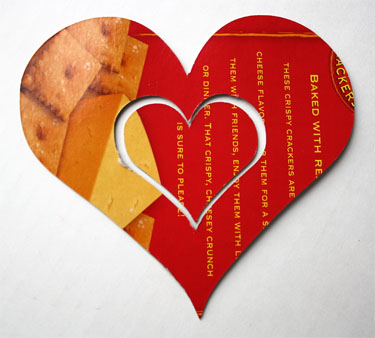
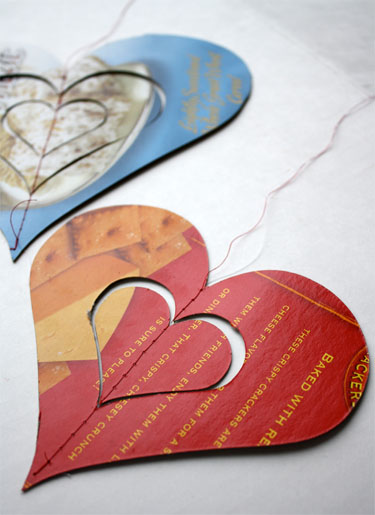
We took our empty food boxes and cut out hearts.  The Cricut made quick work of the cutting, however scissors work great! For the Cricut we used a deep cut blade set to 5 with maximum pressure. This will vary with the box weight and how sharp the blade is. We cut one heart from the Plantin Schoolbook Cartridge at 5 inches. Use center cut so when it is finished it will go back to the center of the heart and you can cut another heart inside. We cut our next heart at 2 1/4 and then again at 2. This allows the heart inside to move when hanging. (Remove the 2 1/4 inch heart)

Sew through the hearts with sewing machine set on long stitch length. Leave plenty of thread at starting point for hanging.

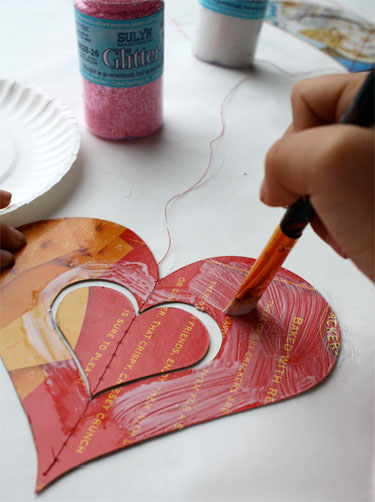
Spread glue onto cardboard

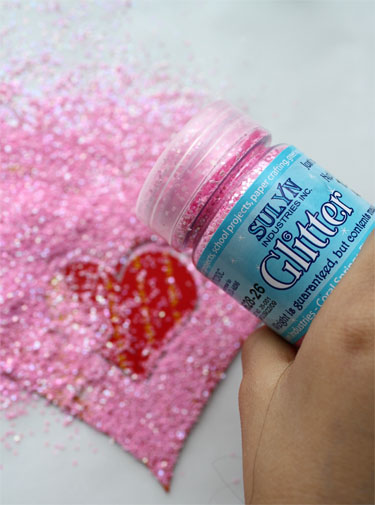
Sprinkle with glitter. Allow to dry and repeat on back.
We did try to cut a 7 inch heart with two hearts inside (in background of third picture above). Because of our technique (excessive glue and glitter) the 7 inch heart would not hang straight.
Once my daughter was finished and the hearts were mostly dry, I placed them between parchment paper and sat a book on top for awhile to flatten them.

If you are looking for more ways to dress your house up for Valentine's Day try this  Valentine doormat, make some fun painted soaps for your bathroom, decorate with these stain glass hearts or make an inexpensive heart wreath.

Friday, January 22, 2010

Gearing Up for the Big Love Day

I have been thinking a lot about valentine's day this year. I love valentine's day even though it is a bit of a consumer game. Mr. P and I have taken a strong stance on not getting 'things' for v-day for one another buuuuuut as being a preschool teacher goes, I have to do some fun 'things' with the little people. Enter V-day projects. So many of these are from Skip to My Lou (how could you ever guess) but there are more from other places too.
Mr. P and I will be having a fun time doing something super fun for v-day which is a secret because it's HIS year to plan v-day! I can't wait. So enjoy the mat.

From Skip to My Lou posted Feb 9, 2007 --

It is really cold around here and they say snow is on the way. We thought our front door needed this.
doormat-1.jpg
To make this doormat you need a carpet sample , ours were free from our local store. Since we repeat this craft all year round he knows us! He didn't have the rectangle size (or texture free) we like so these square ones had to do. It is best to try to get the regular pile-not Berber, shag or textured carpet.
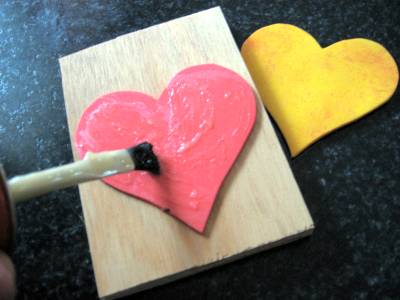
We made our own stamps by cutting shapes out of foam sheets and rubber cementing them to a bock of wood.
doormat-2.jpg
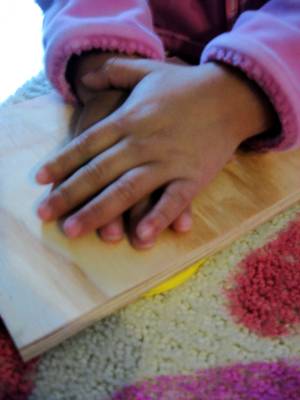
Each stamp needs two layers of foam, so be sure to cut two for each stamp you make. Once you have the foam shape glued to the wood, put something heavy and flat on top of your stamp while the glue dries. This keeps the foam from curling.
doormat-3.jpg
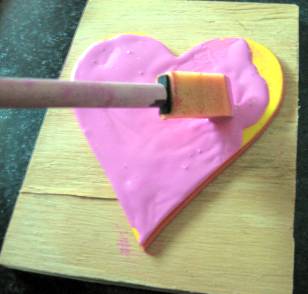
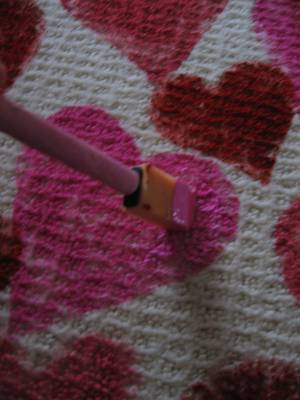
We paint (we use acrylic) the paint on the stamps with a foam brush. This is easier than dipping and keeps the area around the stamp clean---which is very important. Use a lot of paint.
doormat-4.jpg
This is probably the only time that rocking and jiggling your stamp is okay. You are trying to work the paint into the carpet. I suggest asking for one extra carpet sample and give a few practice runs to get the feel of the amount of paint, pressure and jiggling you need to do. Kids love to use both hands and press really hard (an important reason you want to keep the surrounding wood of the stamp paint free). An adult probably needs to give the stamp a final press --depending on the age of the child.
doormat-6.jpg
If your print comes off light, simply take your foam brush and work a bit more paint in those areas.
doormat-5.jpg
Once you are finished the stamps can be rinsed off with water. Allow them to dry completely before storing.
If you don't want to make your own stamps you can always use the large foam die-cut sponges found at craft stores.  Make sure to dampen your sponge and then dip into paint.  You will find an especially nice selection of these sponges around Halloween.
I have asked for 25 carpet samples at one time (give the carpet store some notice so they can collect them for you) so we could do this for the craft at a holiday party at school with 1st and 5th graders. It actually worked out beautifully. I was able to die-cut the shapes out of foam so I had plenty without me having to cut them all . I had parents each with their own stamp and color of paint and walk around the room allowing the children (who stayed at their desks) to stamp their carpets. The parents would paint the stamp each time. We set the carpets out in the hallway to dry. We did this at the very beginning of the party so they had time to dry before heading home (on the buses -oh my I am sure I was popular with those drivers that day!).
doormat-7.jpg