Too Many Good Things Out There Not To Share Them With You!

Showing posts with label print. Show all posts

Monday, February 22, 2010

Who Else Needs A Spa Day?

Natural Beauties
Spa-inspired presents, including these handmade lip balms, can be created from basic kitchen ingredients and craft materials.


Getting Started: Essential OilsTo scent homemade bath and beauty items, you'll need essential oils, available at health-food shops and online.
There are dozens of scents on the market, but we've listed some of our favorites. You might also come across fragrance oils.
Unlike essential oils, which are extracts of plants and fruits, fragrance oils may be made with synthetic compounds. That said, either type of oil is suitable for these projects. Use scents alone or in combinations: If mixing scents, add the oil with the less-intense scent first, followed by the stronger kind, one drop at a time.


EucalyptusStrong intensity. A powerful, clear aroma that pairs nicely with lemon. Use sparingly.
GeraniumStrong intensity. A sweet floral scent that mixes well with peppermint or lemon.
Grapefruit, Lemon, or TangerineMedium intensity. Citrus oils can be used individually, but because they're so lively and adaptable, they lend themselves naturally to combinations.
PeppermintStrong intensity. Refreshing on its own but also a fine partner for many other oils. A little goes a long way.
RosemaryMedium to strong intensity. Herbal, woodsy aroma. Especially good with lemon.
Star AniseMedium intensity. Warm, almost wintry fragrance. Excellent with tangerine.

Carrier OilsTwo projects, the lip balm and the body scrub, call for a carrier oil. Chances are, you already have one of these oils in your kitchen. Their job is not to add scent but to create a smooth texture and also help distribute the essential oil.
Grapeseed OilLightweight, easily absorbed, and virtually odorless.
Olive OilA natural moisturizer. Use the lightest grades so that the scent wont mask that of the essential oil.
Sunflower OilOdorless and inexpensive.
Vitamin E OilHas a soft, light body. It can be expensive, so use it in small quantities in combination with another carrier oil.

Projects

Body ScrubGet the How-To
Web-Exclusive Clip-Art Labels:
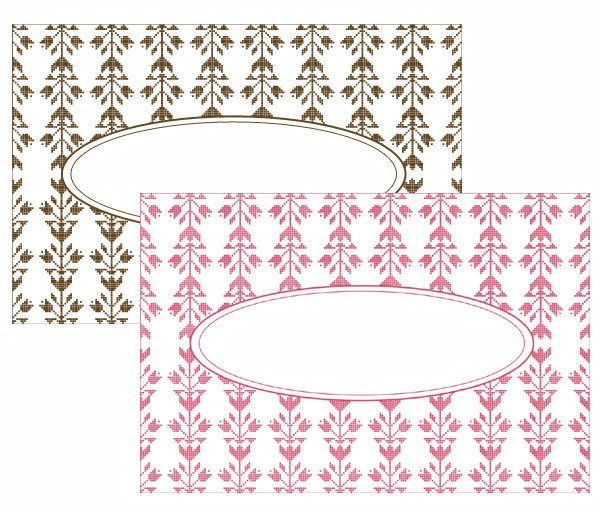
Blank Body Scrub Labels 1
Blank Body Scrub Labels 2
Salt Scrub Labels 1
Salt Scrub Labels 2
Sugar Scrub Labels 1
Sugar Scrub Labels 2

Lip BalmsGet the How-To
Web-Exclusive Clip-Art Labels:
Small Rectangular Lip Balms 1
Small Rectangular Lip Balms 2
Small Round Lip Balms 1
Small Round Lip Balms 2
Large Rectangular Lip Balms 1
Large Rectangular Lip Balms 2
Large Rectangular Lip Balms Blank 1
Large Rectangular Lip Balms Blank 2
Large Round Lip Balms 1
Large Round Lip Balms 2
Lip Balm Tubes

Bath SnowballsGet the How-To

Bath FizziesGet the How-To

Got all the fun from Martha Stewart's Site.

Saturday, February 13, 2010

I Won't Call You Procrastinators......I'll Call You Prompt Challenged

From Skip to My Lou
One again the web is overflowing with free Valentine printables. If you are in need of some last minute Valentines that can be printed right at home check these out!

Jeanne Winter's printable Udaman Candy Bar Wrappers are perfect for your man!

Little Miso shares her lovely card.

Rubber Punkin has these Valentines with awesome graphics

These little cuties are from Style Crush

I am loving Secret Agent Josephine's cute animal Valentines.

Vintage Holiday Crafts have these free vintage Valentines. Visit the site and click on a picture to download a larger individual Valentine.

Hotcakes has some cute Valentines that can be colored.

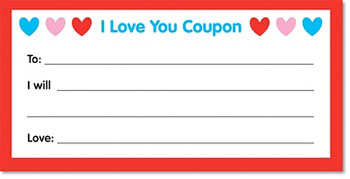
Also check out her printable love coupons.

mmmcrafts shares these adorable would you be mine Valentines.

Zakka Life has these cool rockin' Valentine wrappers for suckers.

Cottage Industrialist shares her  fun rocket Valentines.

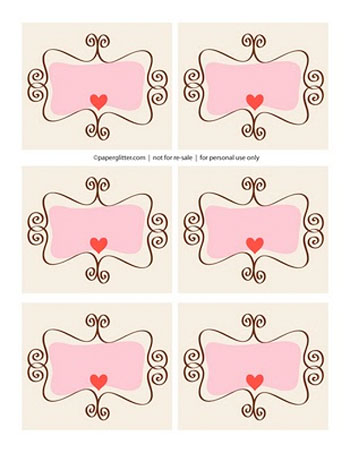
and if you need some pretty gift tags Paper Glitter can fix you up with these
and these.
Or Living Locurto has these fun tags that fasten to the top of a sandwich bag. She also has matching Valentines.
I hope you liked these free Valentine printables!
Check out last year's round-up of free Valentines.
You might also be interested in making a Lollipop Lily Valentine, Butterfly Valentine or a Ladybug Valentine.
More ways to celebrate Valentine's Day can be found here.

Sunday, February 7, 2010

I Can't Do It All....... But I can say Thank You.

 I love sweet little notes. Maybe it's something from my years when you wrote boys names on your notebook or didn't have to complete a 6-10 page paper but I just have to admit I love little note cards. I send them in many shapes and sizes but here is a fun roundup of Thank You cards for you to print out. And of course it's free! Enjoy.


From Cottage Industrialist

From Hey Susy

From Evie S
Self Mailing Note Card

From Real Simple Magazine
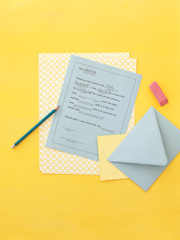
Fill-in-the-Blank Thank You Note

From Fisher Price cute notes for your child to color
If only everyone could "bee" so nice!
 
You make the world a sunnier place!

You've made my day!

From Glitz
Little Birdie Thank You Card

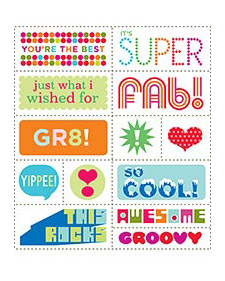
Martha has some printable Thoughtful Stickers that would be cute on note cards and envelopes
Thoughtful Stickers Download

From Snippet & Ink cards designed by Creature Comforts
Printable Thank You Cards

From Kind Over Matter a whole selection of cards

Sunday, January 31, 2010

More Valentines - Treat Bags

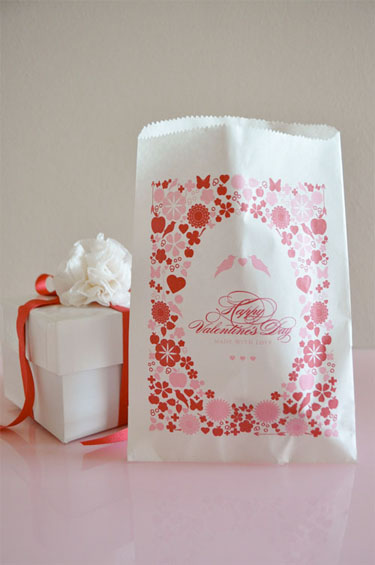
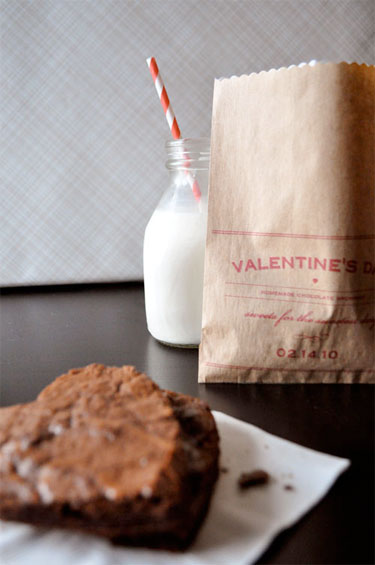
From one of my very favorite blogs, Twig & Thistle, comes these fabulous free printable Valentine treat bags and favor box.
Print the download on white paper sacks to make the most darling DIY Valentine Goody Bags.

These DIY Brownie Bags make the perfect packaging for heart shaped brownies.

And for the apple of your eye a little DIY Sweetie Pie box to hold an apple hand pie.
...such sweet goodies.  Enjoy!

Sunday, January 10, 2010

Stickers!!!!!!

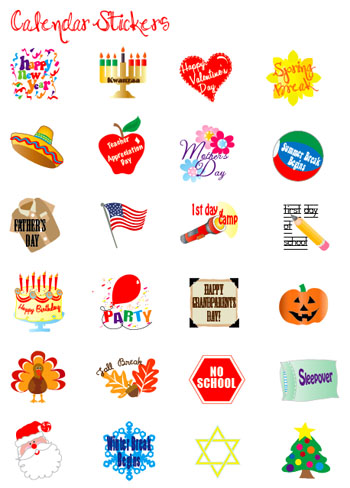
Who doesn't love stickers. Here is a sweet site I found with fun stickers.

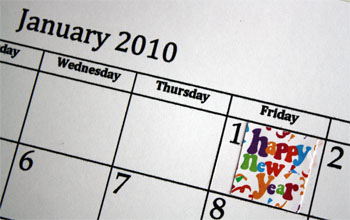
Decorate your Calendar with Event Stickers


Published 12.31.2009 | Permanent Link | Comments (5)
By Cindy Hopper

To get your New Year started off right Alpha Mom has a free little gift for you.  We hope you will enjoy these stickers to help you and your children dress up your 2010 calendars!

Calendar Sticker Download
Simply download and print on 1-up (non cut) sticker paper. This sticker paper can be purchased by the sheet at a copy shop. Cut out and place on your calendar. No worries if you can't find the sticker paper --- a glue stick will work. Keep the stickers handy by stapling in the back of your calendar!

Everyone here at Alpha Mom wishes you a very Happy New Year!

Wednesday, January 6, 2010

OMG Gummies

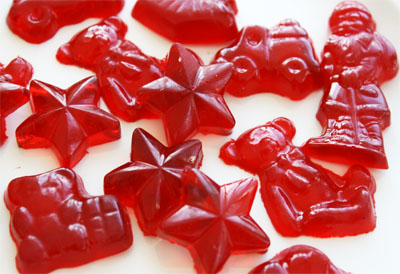
OK, I have to try these out so I thought you needed to see them first. I found them over at Skip to My Lou. They are sooooo cute. I'll have to make a few batches fr our upcoming bear picnic in class for a special snack. I think you can find these molds at the Dollar Tree right now so don't be shy. I have never used the molds before so maybe you guys can comment on their ummmmm cooperation. But I will be giving these a try like I said and I already have most of this stuff on hand. I'm sure the candy companies are fuming right now as we are plotting to never again pay their prices for gummy candies. Hooray! So here's how:

Homemade Gummi Candy


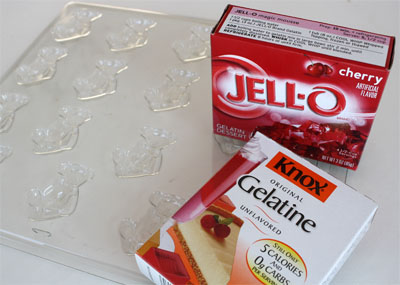
All we needed was 1 -3 oz box of flavored gelatin and 2 - 1/4 oz  packages of unflavored gelatin, water and candy molds. (we used two candy molds)

Place 1/3 cup water in a small sauce pan. Sprinkle the Jello and  unflavored gelatin over the water. Let sit 5 - 10 minutes. (If you like chewier gummi candy add in another packet of unflavored gelatin.)
Place sauce pan over medium heat and stir until gelatin is dissolved, about 2-5 minutes. When mixture is liquid and all gelatin has dissolved, remove from heat.  Let cool a minute and then pour into a container that is easy to pour from.  I use a small ceramic creamer pitcher.

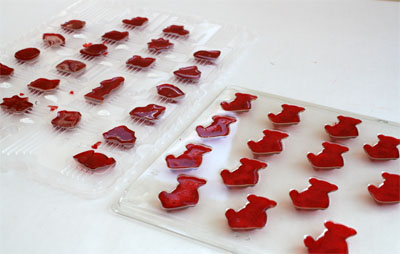
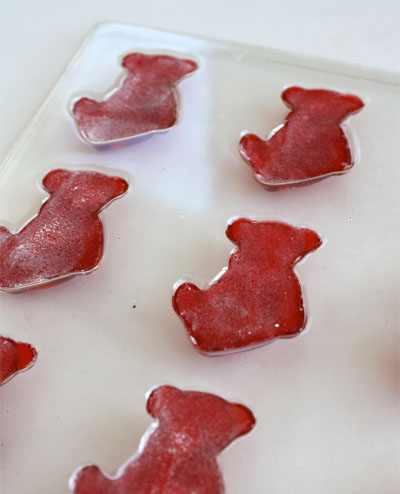
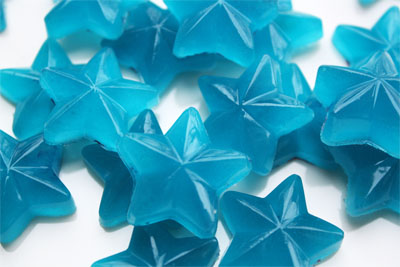
Fill molds. If you save the inside of the advent calendar for  projects like do, it works perfect! The sheet of star molds worked a bit better than the bears because they are a bit deeper. However, I must say we were just needing an activity so our standards were pretty low--- we thought they all turned out great!

Allow to cool completely, about 20 minutes. They may be placed in a refrigerator for about 10 minutes if the kids are eager.
Once cool, the backs can be lightly dusted with corn starch, if desired.

Peel the gummi candy out of the molds. Don't be shy, you won't hurt them when peeling them from the molds. No need to oil the molds!

Enjoy!

Make homemade stickers with the unused unflavored gelatin packets.

Notes: My son felt the blue ones weren't flavorful enough. Next time we will try 2 boxes Jello, 3 packages of unflavored gelatin and 1/2 cup water.

Sunday, December 13, 2009

All Those Christmas Cards

Every year I get wonderful Christmas cards from family and friends. I really like Christmas cards. They are simple and while they're not necessary, it's at least a way to stay in touch with people over the holidays. My grandmother had 15 children so you can imagine trying to keep up with everyone. So we send out a little Christmas card and newsletter to feel a little more connected. So when I was on one of my favorite sites Dollar Store Crafts I found a great idea to use those 101 Christmas cards that have been collecting.


So here's how: 
Project Estimate:
  • 3 greeting cards per house, on hand
  • Battery-operated tea lights, 2 for $1
  • Tissue paper (optional), on hand
  • Tape & scissors, on hand
Total: $.50 per house (unless you prefer unlit houses, and then this is FREE!)

It's even look on well by all the tree-huggers of the world. Now who wouldn't love decorations like that?

Steps:
1. From your stash of cards, find three that are identical in size. If you have to trim a couple to make them all the same, be sure to save the scraps, as you can use those to make your window panes.

2. On one card, cut out a small window on each side. On the other card, cut out a window and a door. Cut down one side and top of a long rectangle for the door, being sure you can fold it to the side to make it look like it's half way open.
 3. Using card stock or your extra card scraps, make window panes on your window openings. Tape the pieces on the inside of the cards. You can tape sheets of tissue paper if you'd like as well.

4. Tape the two cards together from the inside to create a box shape. 

5. Cut the third card in half along the existing crease and tape each half to the sides of the box. Attach the two pieces together to create the finished roof.
6. To make my houses look cute and whimsical, I put tape on the top corners of each roof.


 7. To create a snowy effect, place fiberfill around your card houses.

8. I also tried lighting up my houses by putting in an enclosed tea light candle. To make things safer, I think I would put in a battery-operated tea light candle instead. It looks so pretty at night!
Have fun if you have time to make this. I think we will do it while I am in Knoxville with the rents. Happy crafting and Merry Christmas!

Wednesday, December 2, 2009

Welcome Home

It has been a few days since I got back home from Africa and I am not feeling well today so I'll post a little something I would find useful and a pic from Africa. Then I'm going to drift in and out of consciousness.

Skip to My Lou posted a fantastic book label for teachers. I know I would love to get a set of these cute things so give them to a teacher you love!


And lastly here is a picture of me with a sweet orphan boy in Kampala, Uganda. I'm sure you can guess I wanted to take him home with me but I'll have to wait for just a little while.

Sunday, November 15, 2009

Family is Gone but Tags Are Here

This weekend has been crazy and fantastic and exhausting all at the same time. I really wish my family could stay for like a month but I know, I know - everyone has to go home eventually. I'll be traveling to Africa with Four Corners Ministries in four days so there are lots of things to be done. Along with all the fun my dear friend Kayla is coming over to spend the week while her husband is out. I love family and friends. I would have people over at my house all the time if sweet Mr. Phillips would let me. He needs man cave time though.


I found a really cute gift tag tutorial that is SUPER easy to do. It even uses a program most of us already have. Thanks to Life in Grace blog. I can only try to describe the feeling when I find a easy, creative way to say 'you're the best' or 'I love you' or "Happy Anything." They're so cute.


So here it is:


The following is a pic-tutorial of how to create your own labels in Microsoft Word.
A few words to the wise:
1. Print on plain paper first
2. Use solid sheets of “label paper” {so they will be stickers--that you can cut out in your desired shape}. Be sure you get ink jet paper for an ink jet printer or laser paper for a laser printer.
3. Make your margins smaller so you can squeeze more on a page


**(Tutorial says to do the above but I like using the avery labels that are 2'' to make it quicker and easier. These are just my quick steps) 


Start by inserting a shape/object onto your document and then size it according to your preference.


  Other ideas for this fun little sticker. I'm making some pronto!


I like the tags too. If you have any other ideas to use them for feel free to comment.