Too Many Good Things Out There Not To Share Them With You!

Tuesday, January 26, 2010

Oooooooo Monograms!

Ok, you have to love letters. I teach them in my class, we can't get enough of them and they are all over my house. I'm going to make one for my sisters I think and one for my house all Valentine's up and stuff. Have fun, I know I will! Found over at Dollar Store Crafts. I told you there would be more than just STML on here. Smile.


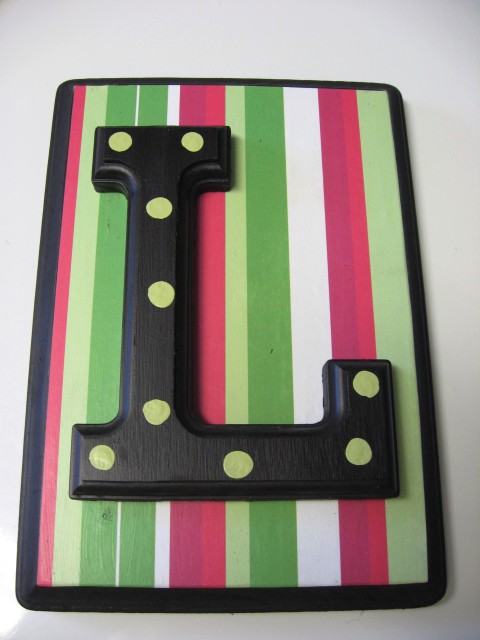
Monogram Plaque by Southern Hospitality
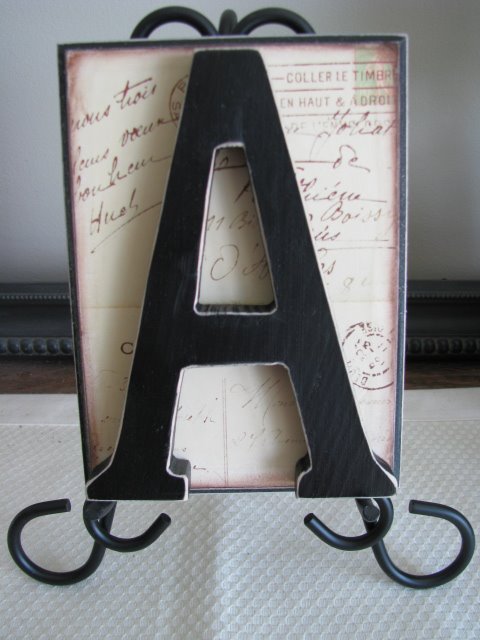
Here’s a simple and fun idea for making a custom monogram plaque that you can customize in infinite ways to go with your personal taste and decor. Rhoda at Southern Hospitality made these, inspired by a project she saw at Joys of Home (a blog that often has great dollar store decor ideas, by the way!). Choose your favorite scrapbook paper, paint color, and initial, and get creating. You can find wooden initials and plaques at the dollar store, or check the unfinished wood section of your local craft store for a wider selection. Oh, and this will probably only take fifteen minutes or less, and no special skills are needed. Wouldn’t it be a fun slumber party activity, or a great gift for a housewarming? [click here for Monogram Plaque Project] [inspired by] [via]
Monogram Plaque by Joys of Home
Project Estimate:
  • Wooden plaque, $1
  • Wooden letter, $1
  • Scrapbook paper, on hand or $.50
  • Paint (spray or acrylic), on hand
  • Sandpaper, on hand
  • Glue, on hand
Total: $2 and up
Striped polka-dotted monogram by Southern Hospitality

Monday, January 25, 2010

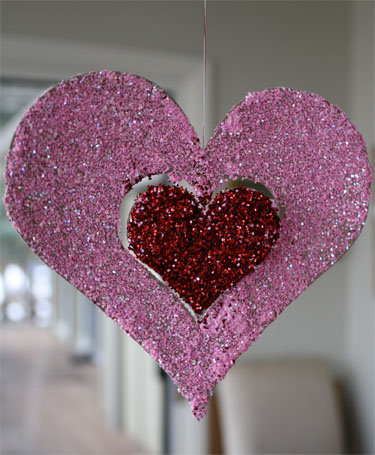
Good Old Glitter Hearts

It's glllllllllllllllllllitter! My little people L-O-V-E glitter so I think we will make these during our valentine's day party this year. They're from you guessed it, Skip to My Lou. What, she has great stuff. More blogs to be featured - don't get your panties in a wad :0)!

I will say right up front ---- this little craft was messy. It kept small hands busy for quite awhile --but for a price! So if you don't LOVE glitter stop reading! You will like these hanging hearts better!

We took our empty food boxes and cut out hearts.  The Cricut made quick work of the cutting, however scissors work great! For the Cricut we used a deep cut blade set to 5 with maximum pressure. This will vary with the box weight and how sharp the blade is. We cut one heart from the Plantin Schoolbook Cartridge at 5 inches. Use center cut so when it is finished it will go back to the center of the heart and you can cut another heart inside. We cut our next heart at 2 1/4 and then again at 2. This allows the heart inside to move when hanging. (Remove the 2 1/4 inch heart)
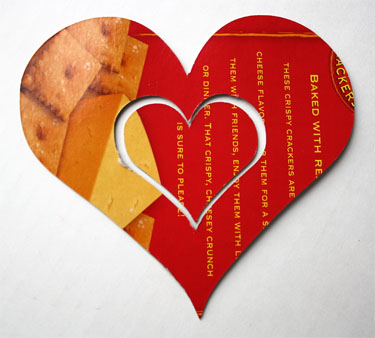
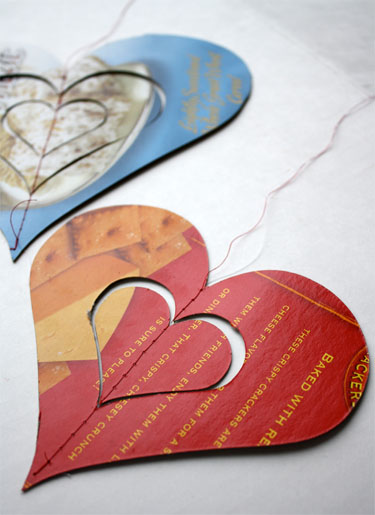
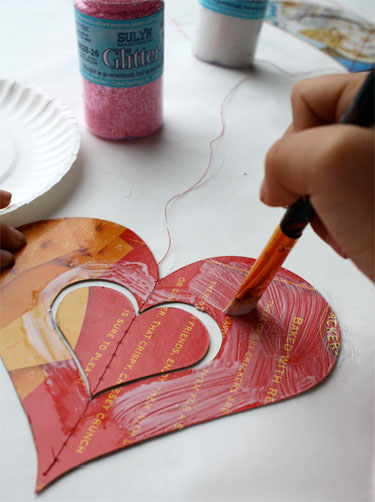
Sew through the hearts with sewing machine set on long stitch length. Leave plenty of thread at starting point for hanging.

Spread glue onto cardboard

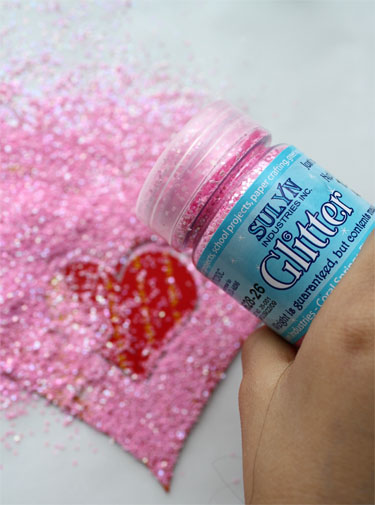
Sprinkle with glitter. Allow to dry and repeat on back.
We did try to cut a 7 inch heart with two hearts inside (in background of third picture above). Because of our technique (excessive glue and glitter) the 7 inch heart would not hang straight.
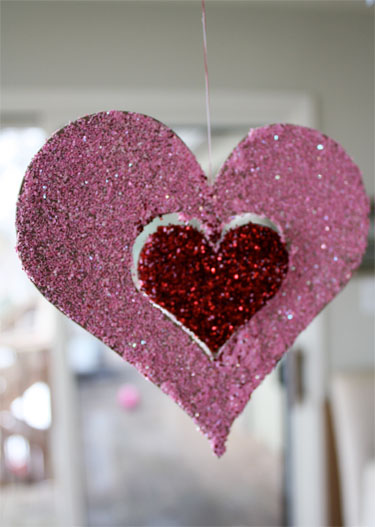
Once my daughter was finished and the hearts were mostly dry, I placed them between parchment paper and sat a book on top for awhile to flatten them.

If you are looking for more ways to dress your house up for Valentine's Day try this  Valentine doormat, make some fun painted soaps for your bathroom, decorate with these stain glass hearts or make an inexpensive heart wreath.

Sunday, January 24, 2010

Bath Fizzies

As I have two articles on this I thought I would post them both. Here they are. One from Skip to My Lou and one from Mom Advice. The first article I'll be shaping with a heart mold in stead of the round ornament and the second is an article for Christmas but put a different tag and ribbon on it and viola -- Valentine's day gift! Now to figure out what to do for my sisters. 

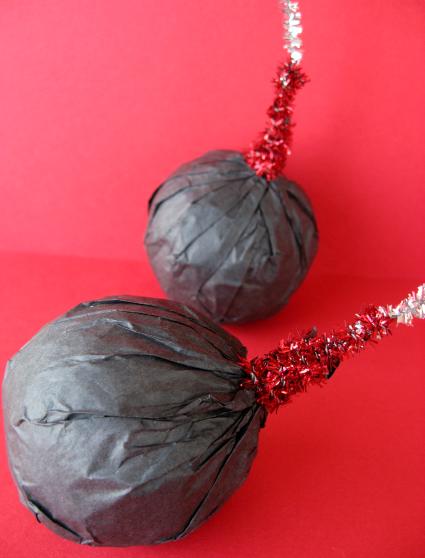
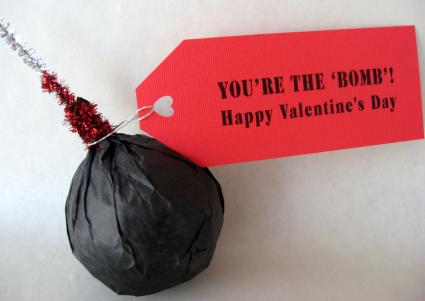
We thought bath bombs would make the perfect Valentine's Day gift when packaged to look like  a bomb along with a tag that says, "You're the 'bomb'!"
bath-bomb-11

DIY Bath Bombs

Supplies:
2 Cups Baking Soda
1 Cup Citric Acid
4 teaspoons massage oil ( or 2 teaspoons essential oil and 2 teaspoons olive oil)
Spray bottle with water
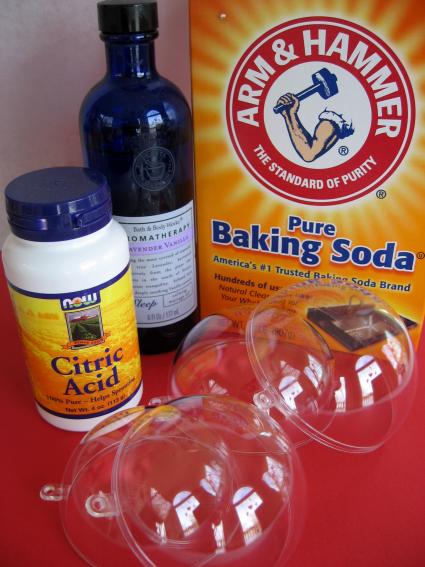
mold (60 mm 2 part plastic ball)
This amount only made 5 bath bombs.  If I was making more I would buy the citric acid online in bulk. The small bottle  you see pictured (1/2 cup) was $2.50. I purchased it from my local health food store.  You can buy citric acid online for $2.25 per pound. BrambleBerry is offering all Skip to my Lou readers 10% off citric acid, use LOU10 at checkout to receive your discount!
bath-bomb-supplies
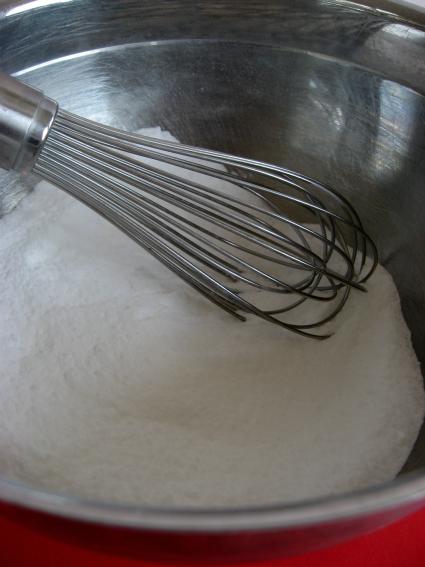
Mix baking soda and citric acid in large mixing bowl.  Mix very well! You can use an electric mixer if you like.
bath-bomb-1
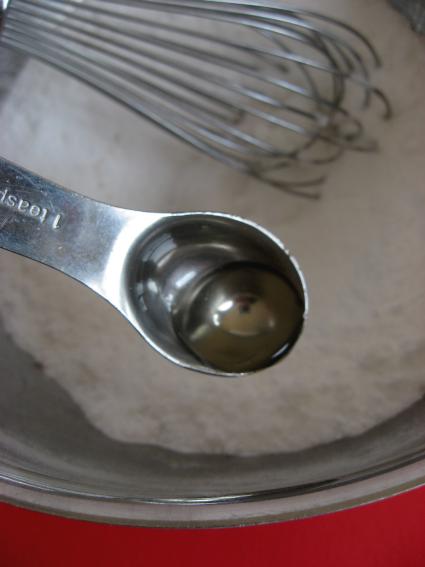
Add in 4 teaspoons of scented massage oil (or other combination of skin safe essential oil for scent and another oil for moisturizing the skin). The scent is personal, so start with a teaspoon or so and add more until you are satisfied. Mix well.
bath-bomb-2
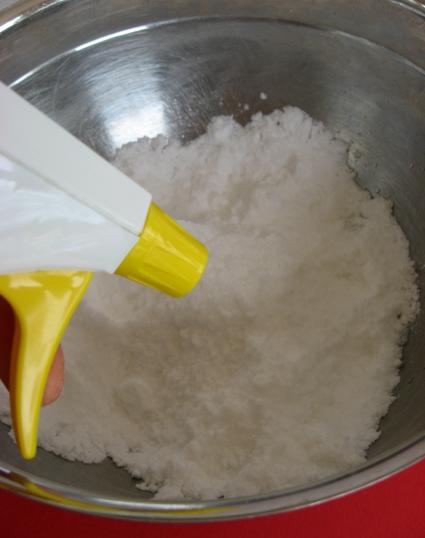
This next step can be a bit  tricky because you don't want your bath bomb to start fizzing. Start by adding a couple of fine mist sprays of water to your mixture and mix well.
bath-bomb-3
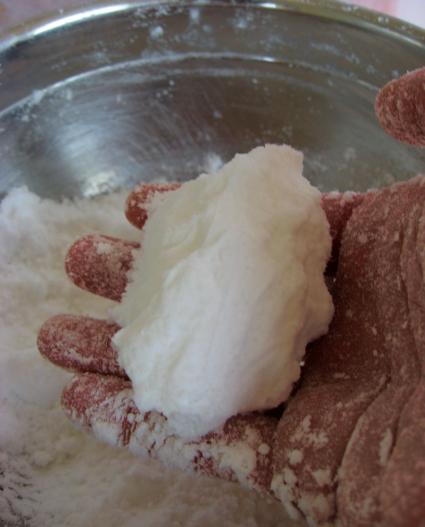
You will continue spraying until the mixture will clump in your hand when squeezed. (I used 5-8 sprays, however this will depend greatly on your local climate)
bath-bomb-4
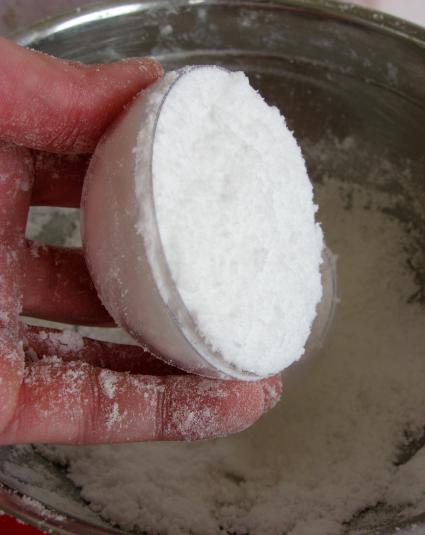
Fill one half of your mold.  Pack it tightly.
bath-bomb-5
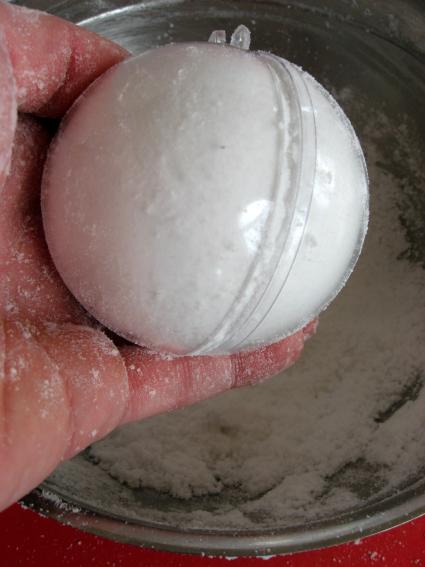
Fill the other half of the mold and place them together---don't snap together.  I slightly overfilled each half.  When I pushed the two halves together they became a ball.
bath-bomb-6
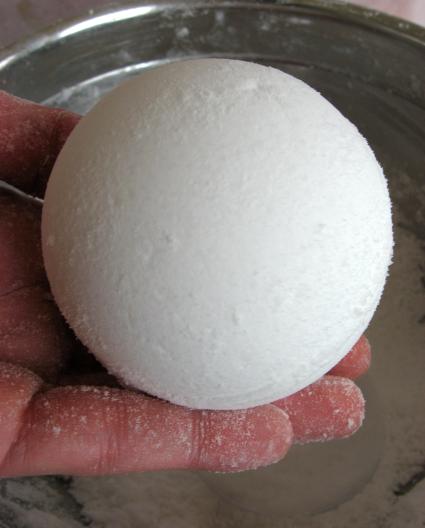
Gently remove the ball from mold.  If I had problems with the ball coming out easily  I dumped the mixture back into my bowl, added a mist of water (carefully), mixed well and then tried again.
bath-bomb-7
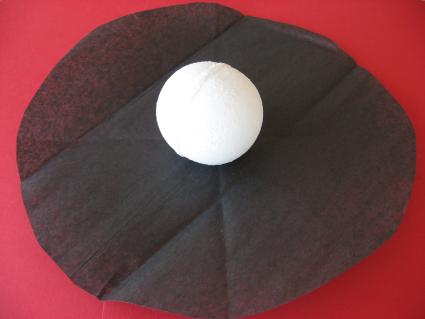
Cut out about a 10 inch circle of black tissue paper.
bath-bomb-8
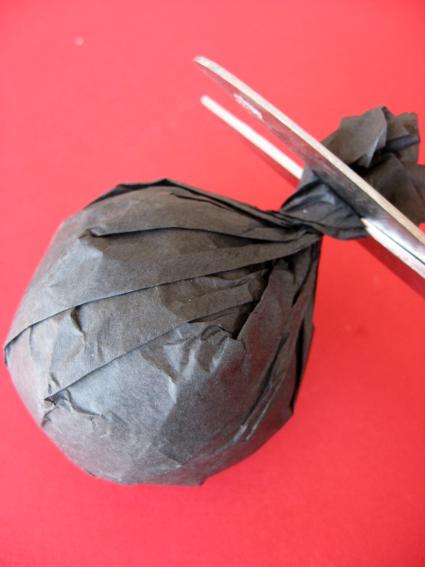
Wrap tissue up around your bath bomb and trim if necessary.
bath-bomb-9
Place a silver pipe cleaner in the center and then wrap a shiny red pipe cleaner around the the tissue paper and silver pipe cleaner.  Add a tag and you are finished! You might want to write instructions for using the bath bomb on the back of the tag.
bath-bomb-10
The bath bomb worked great. It provided fizz, bubbles and fun for my daughter's bath.
bath-bomb-12
Enjoy!
These were very simple bath bombs.  If you are interesed in more recipes and detailed instructions, the internet is a great resource. Try Teach Soap for loads of bath and body recipes!


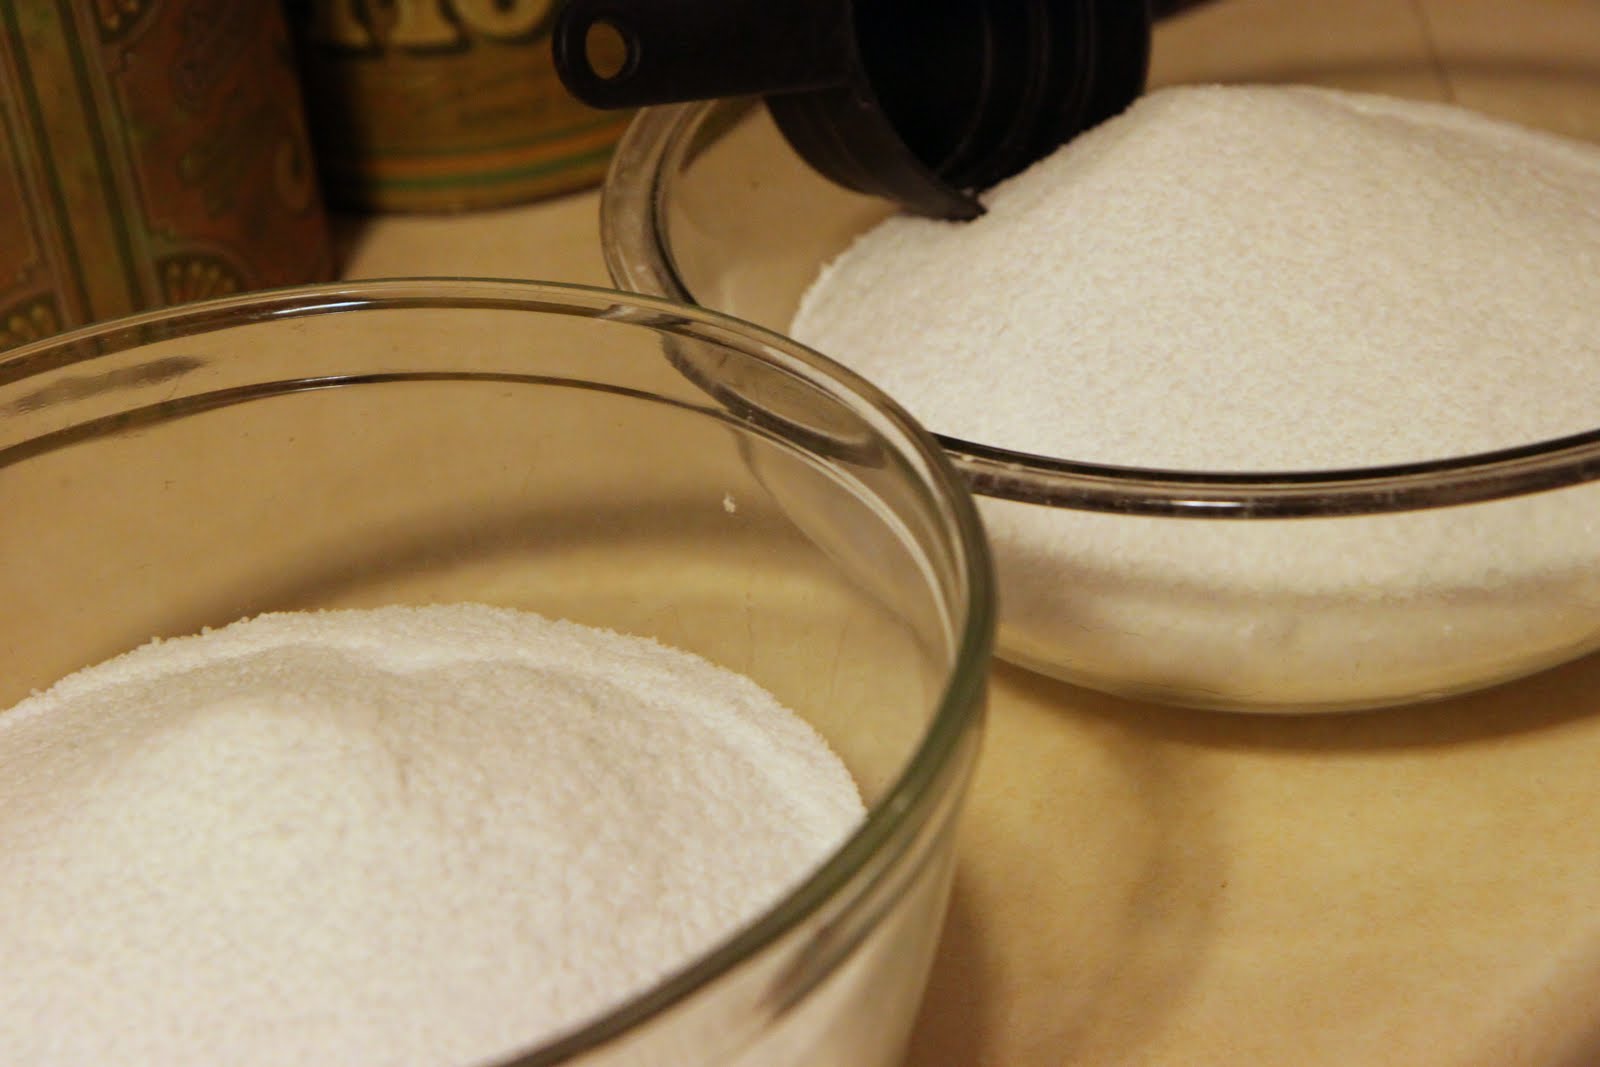
I took a picture of all of the ingredients needed so you can see exactly what they look like when you go to the store. Don’t you hate it when you can’t picture what you should be looking for?
The kosher salt is over in the baking aisle with the regular salt, the Epsom Salts should be over in the first aid supplies of your superstore or drugstore, and the glycerin will be behind the drugstore counter where you pick up your prescriptions (and can also be used for your giant bubbles in the summer).
Now head to your craft store and go into the aisle where the soap making and candle making supplies are. There you will find colorants to dye your bath salts (you need the package with red in it) and the essential oils needed (for this craft it will be the eucalyptus mint). The last thing you can buy is some peppermint striped ribbon or whatever is on sale and festive will totally do the job!
As for jars, I found those at Big Lots and you can get a dozen of them for $6.50 or check the canning supplies section of Walmart (our store was out). I hope that helps with your shopping list and helps with the visuals for what to look for!
You will need two big bowls for this and a giant spoon to mix with. Don’t you love crafts that don’t require a lot of equipment? Now, empty one bag of Epsom Salts into one bowl. Next add 3 cups of your kosher salt, and stir well. Then stir in 1/4 teaspoon glycerin and eight drops of your eucalyptus essential oil. Mix well.
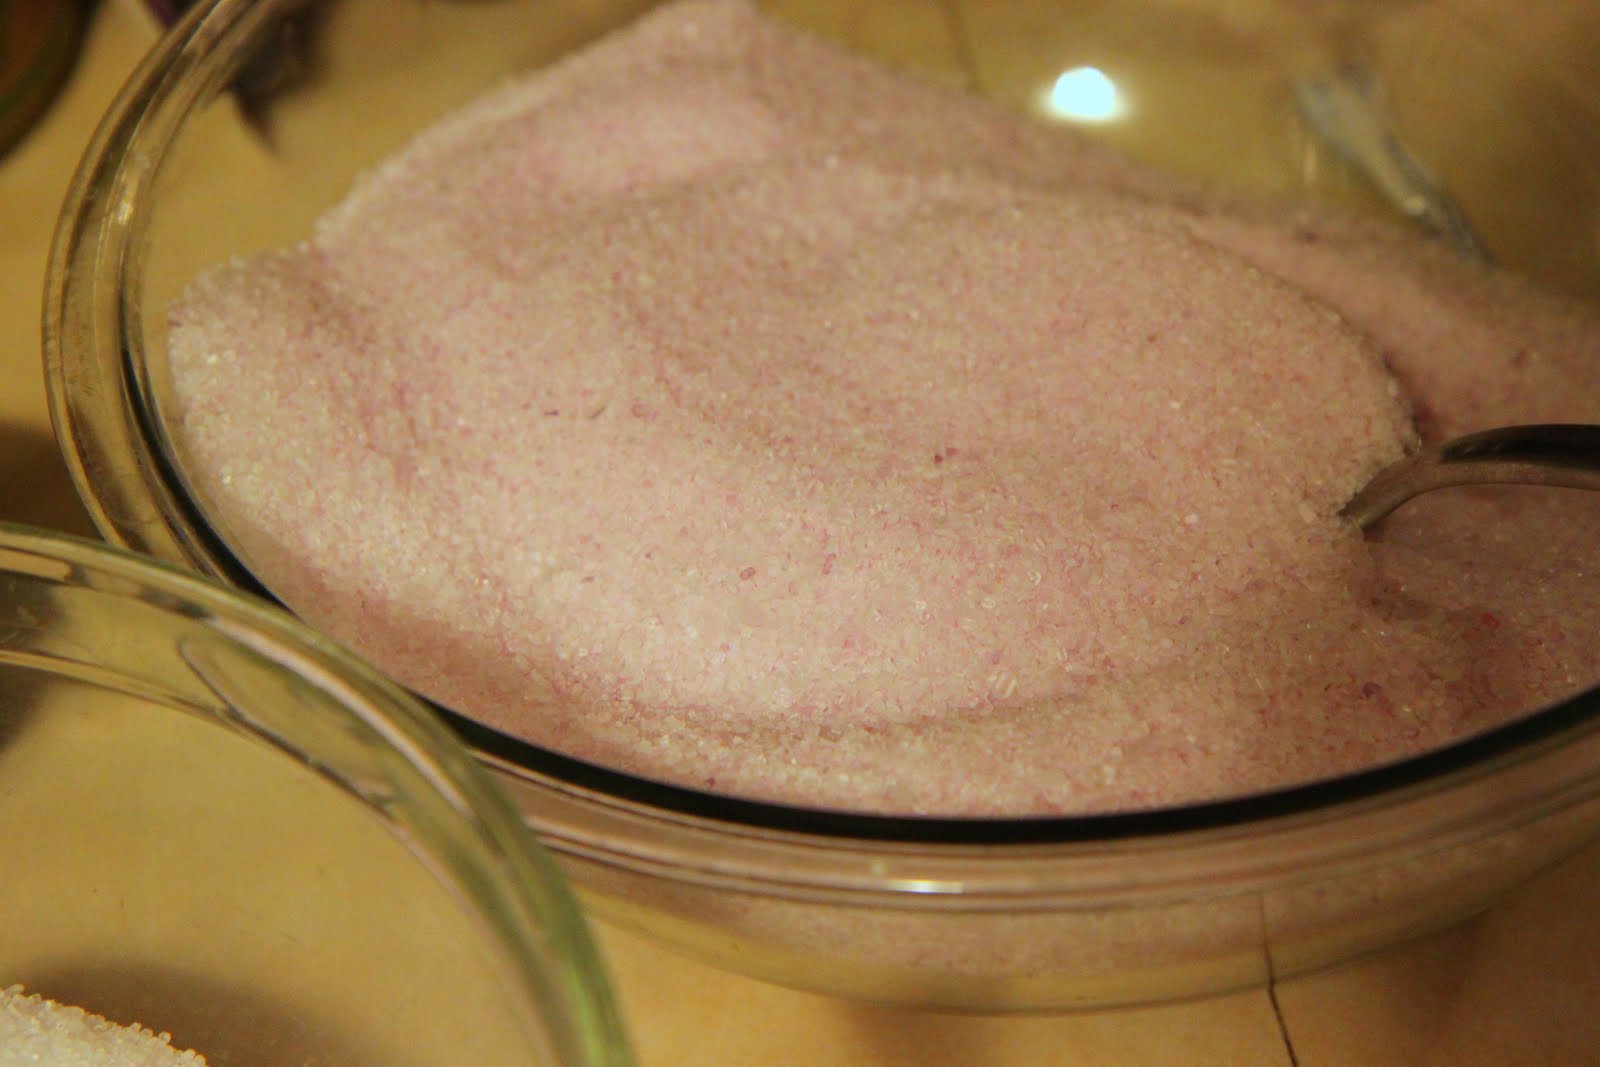
In your second large mixing bowl, empty one bag of Epsom Salts and add 3 cups of your kosher salt. Stir well. Next stir in 1/4 teaspoon glycerin and eight drops of your eucalyptus essential oil. To this bowl, you will add fifteen drops of your red colorant. This will give you a pale and pretty pink bowl of salts. Mix this side really well to incorporate the coloring throughout this batch.
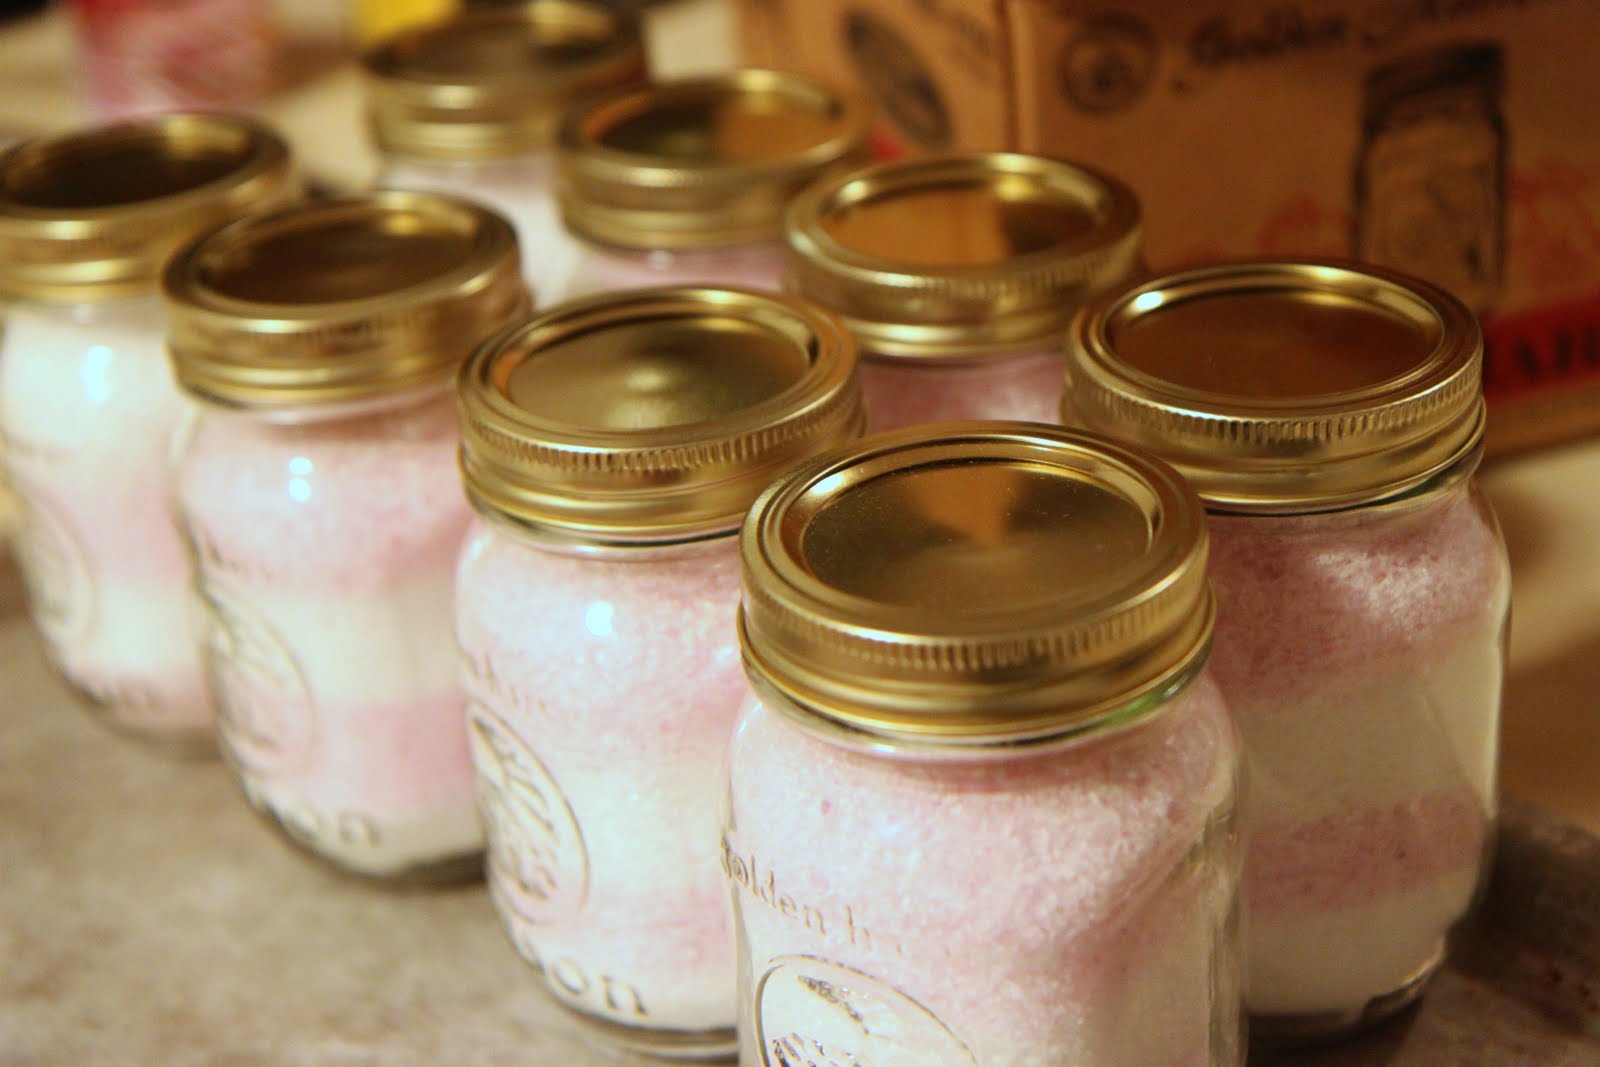
Now grab a 1/2 cup measuring cup and start doing layers to create the peppermint candy look in the jar- a layer of white, a layer of pink, a layer of white, and then a layer of pink. I would recommend filling them on a cookie sheet to catch any runaway salts and to make clean-up a little bit easier. Once everything is filled, you should have 12 jars full and even a little leftover for yourself.
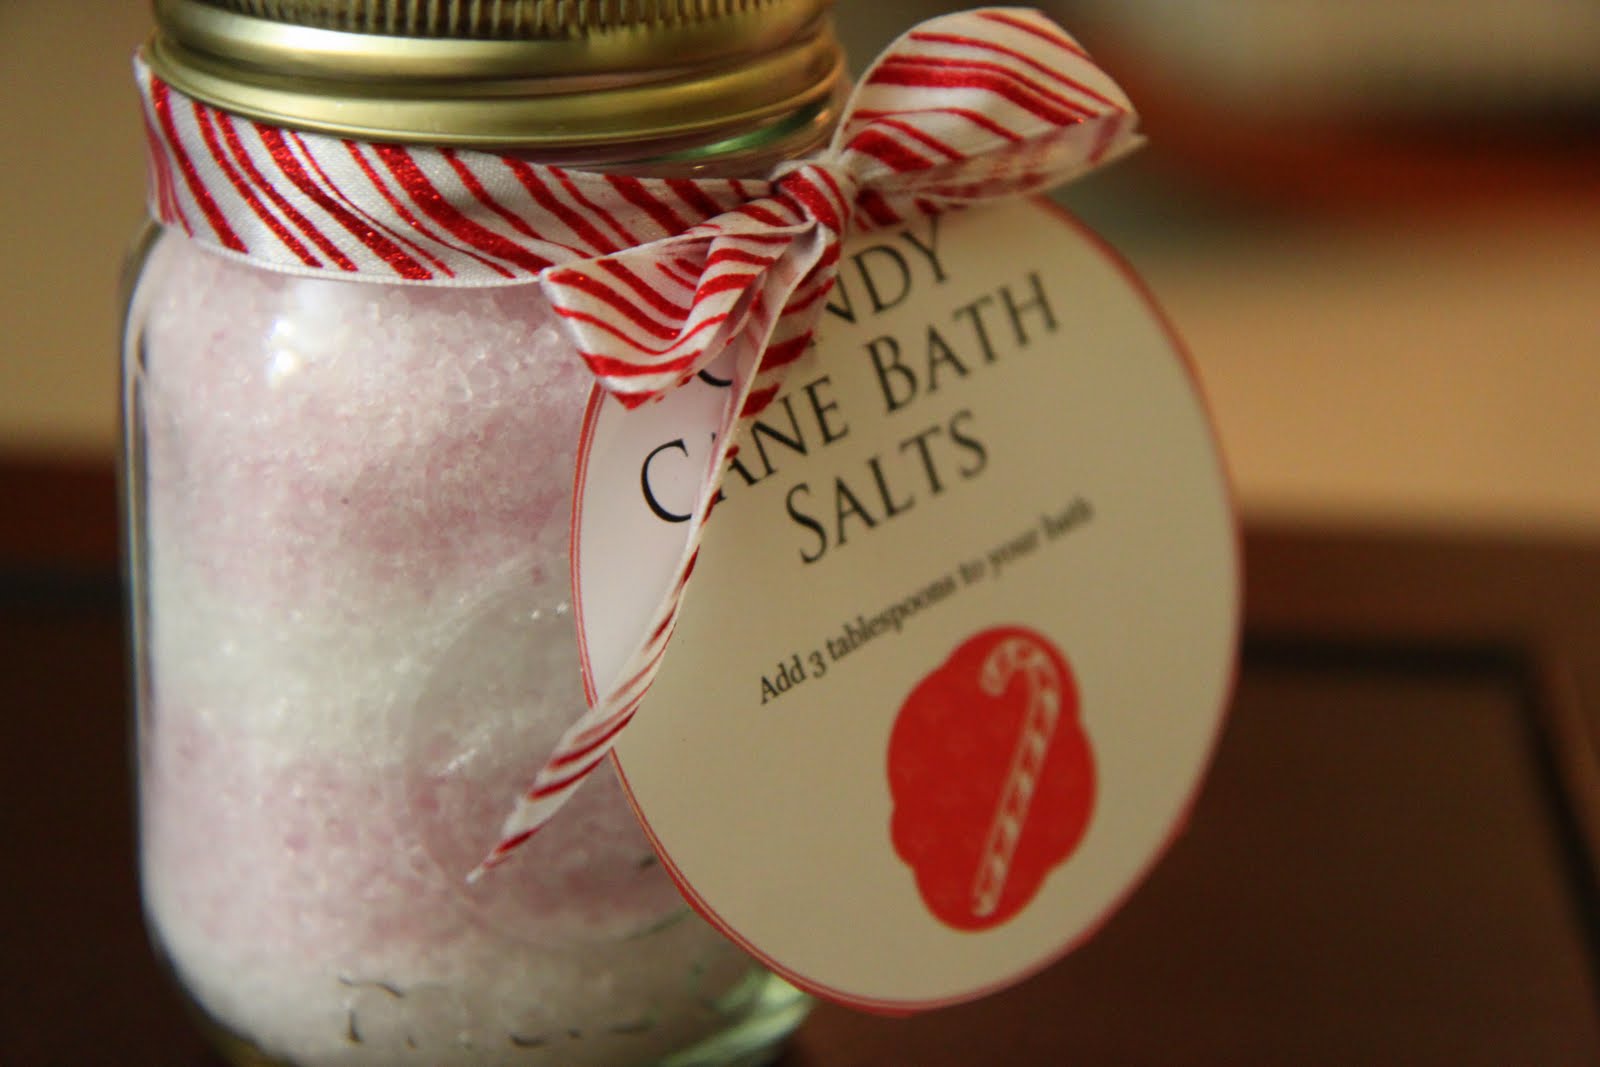
Now tie your gift up with a little festive ribbon and a beautiful gift tag instructing the recipient to put three tablespoons of salts in the bathtub to enjoy a relaxing holiday bath.
****************
Candy Cane Bath Salts

12 tall jelly (12-ounce) canning jars with lid and rings
2 bags of Epsom Salts, 4 pounds each (approximately 16 cups)
4 lb kosher salt (approximately 6 cups is needed, buy two boxes and cook with the rest)
1⁄2 teaspoon glycerin, divided
16 drops eucalyptus peppermint essential oil
15 drops red colorant
Empty one bag of Epsom Salts into large mixing bowl. Add 3 cups kosher salt, stir well. Stir in 1/4 teaspoon glycerin and eight drops of eucalyptus
essential oil. Mix well. In second large mixing bowl, empty one bag of Epsom Salts, and add 3 cups kosher salt. Stir well. Add 1/4 teaspoon glycerin, eight drops of eucalyptus essential oil, and red colorant. Stir until completely blended. Color should be even. Using a 1/2 cup measuring cup and fill canning jars at an angle, layer salts in jars, alternating white and colored mixtures.

****************

Just to make your gifts a tad more festive and to ease the burden of making those gifts, we have included free gift tags to download and print for the holiday season!
Free & Beautiful Holiday Printable Gift Tags
Luckily for you, there will be just a tad too much of both of these bath mixtures to fit into the jars and you will be forced to partake of your efforts. Throw whatever is left in that food processor or bowl and put it into your bath. Now fix yourself a cup of vanilla chai tea, light a candle, and smuggle in a good book or magazine. Promptly, lock the door and pretend like you have no idea how that happened when everyone starts knocking. Enjoy a moment to yourself and relax, you deserve it!

Saturday, January 23, 2010

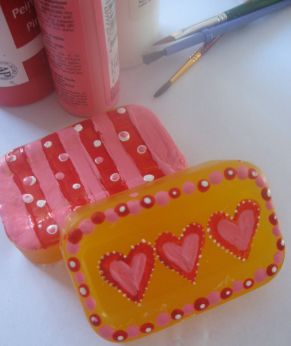
Lovey Dovey Soap

Here's another favorite from Skip to My Lou. I think I will make these for my mom this year with some homemade bath fizzies. Bath fizzies to come tomorrow.

Even the bathroom needs a little holiday cheer!
soap-1.jpg
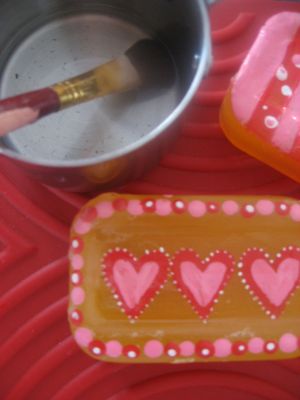
Paint Glycerin soap with acrylic paint. One side of the soap needs to be non-imprinted, so you have a nice area to paint on.
soap-2.jpg
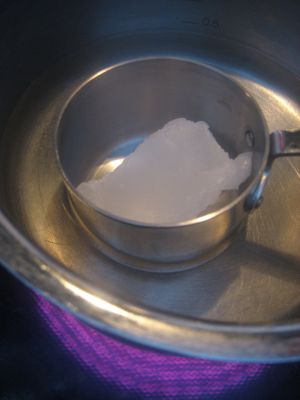
Melt paraffin in a double boiler situation. I used a metal measuring cup set in a pan of water. An old food can could also be used. Wax is highly flammable so it is best to melt it in water. DO NOT allow any of the water to get into the wax!
soap-3.jpg
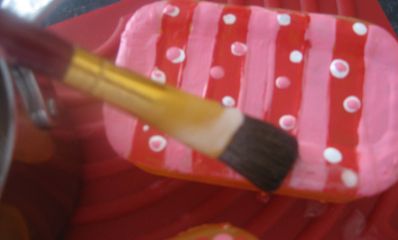
Brush a thin coat of melted wax over your painting. Do not paint the sides or bottom of your soap. The wax must be very hot to give a clear coat. It is probably best for an adult to do this step while wax is still at the stove so it remains very hot.
soap-4.jpg
soap-5.jpg
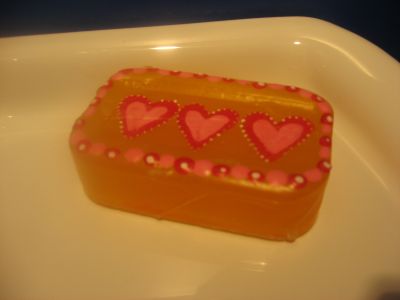
When you use your soap the wax will protect your paintings.
soap-6.jpg

Friday, January 22, 2010

Gearing Up for the Big Love Day

I have been thinking a lot about valentine's day this year. I love valentine's day even though it is a bit of a consumer game. Mr. P and I have taken a strong stance on not getting 'things' for v-day for one another buuuuuut as being a preschool teacher goes, I have to do some fun 'things' with the little people. Enter V-day projects. So many of these are from Skip to My Lou (how could you ever guess) but there are more from other places too.
Mr. P and I will be having a fun time doing something super fun for v-day which is a secret because it's HIS year to plan v-day! I can't wait. So enjoy the mat.

From Skip to My Lou posted Feb 9, 2007 --

It is really cold around here and they say snow is on the way. We thought our front door needed this.
doormat-1.jpg
To make this doormat you need a carpet sample , ours were free from our local store. Since we repeat this craft all year round he knows us! He didn't have the rectangle size (or texture free) we like so these square ones had to do. It is best to try to get the regular pile-not Berber, shag or textured carpet.
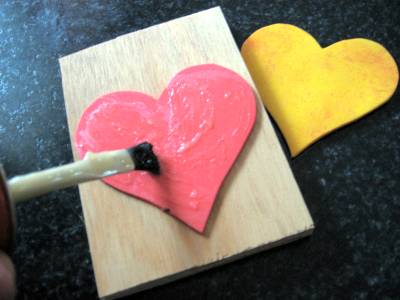
We made our own stamps by cutting shapes out of foam sheets and rubber cementing them to a bock of wood.
doormat-2.jpg
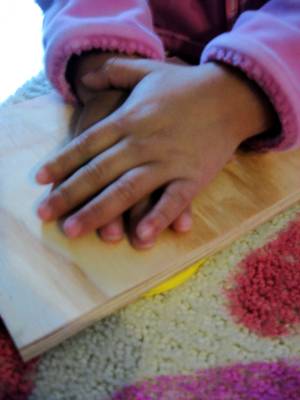
Each stamp needs two layers of foam, so be sure to cut two for each stamp you make. Once you have the foam shape glued to the wood, put something heavy and flat on top of your stamp while the glue dries. This keeps the foam from curling.
doormat-3.jpg
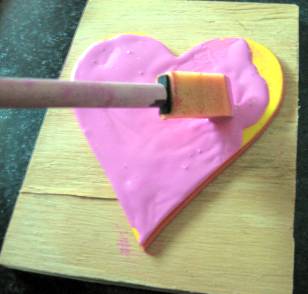
We paint (we use acrylic) the paint on the stamps with a foam brush. This is easier than dipping and keeps the area around the stamp clean---which is very important. Use a lot of paint.
doormat-4.jpg
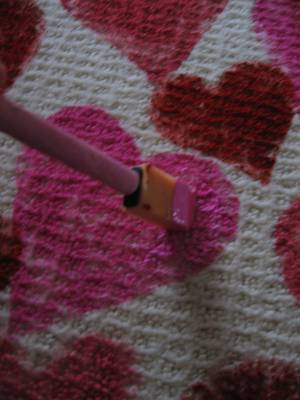
This is probably the only time that rocking and jiggling your stamp is okay. You are trying to work the paint into the carpet. I suggest asking for one extra carpet sample and give a few practice runs to get the feel of the amount of paint, pressure and jiggling you need to do. Kids love to use both hands and press really hard (an important reason you want to keep the surrounding wood of the stamp paint free). An adult probably needs to give the stamp a final press --depending on the age of the child.
doormat-6.jpg
If your print comes off light, simply take your foam brush and work a bit more paint in those areas.
doormat-5.jpg
Once you are finished the stamps can be rinsed off with water. Allow them to dry completely before storing.
If you don't want to make your own stamps you can always use the large foam die-cut sponges found at craft stores.  Make sure to dampen your sponge and then dip into paint.  You will find an especially nice selection of these sponges around Halloween.
I have asked for 25 carpet samples at one time (give the carpet store some notice so they can collect them for you) so we could do this for the craft at a holiday party at school with 1st and 5th graders. It actually worked out beautifully. I was able to die-cut the shapes out of foam so I had plenty without me having to cut them all . I had parents each with their own stamp and color of paint and walk around the room allowing the children (who stayed at their desks) to stamp their carpets. The parents would paint the stamp each time. We set the carpets out in the hallway to dry. We did this at the very beginning of the party so they had time to dry before heading home (on the buses -oh my I am sure I was popular with those drivers that day!).
doormat-7.jpg

Sunday, January 10, 2010

Stickers!!!!!!

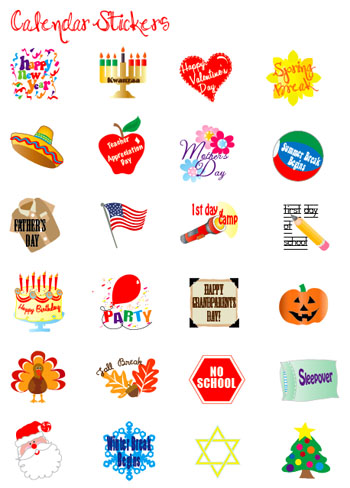
Who doesn't love stickers. Here is a sweet site I found with fun stickers.

Decorate your Calendar with Event Stickers


Published 12.31.2009 | Permanent Link | Comments (5)
By Cindy Hopper

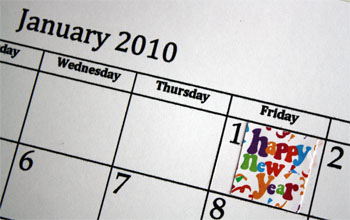
To get your New Year started off right Alpha Mom has a free little gift for you.  We hope you will enjoy these stickers to help you and your children dress up your 2010 calendars!

Calendar Sticker Download
Simply download and print on 1-up (non cut) sticker paper. This sticker paper can be purchased by the sheet at a copy shop. Cut out and place on your calendar. No worries if you can't find the sticker paper --- a glue stick will work. Keep the stickers handy by stapling in the back of your calendar!

Everyone here at Alpha Mom wishes you a very Happy New Year!

Saturday, January 9, 2010

For Mommies of Little People

Shopping Cart Seatbelt -- TUTORIAL

This one is from Obsessively Stitching blog.  

Got a kid who refuses to stay sitting down in shopping carts? My sister's little boy lasts about 15 seconds before he's standing -- even WITH the cart's built-in seatbelt on! And then there are the stores whose carts are notorious for missing seatbelts....

Well, I've got the solution, and all you need is one (or two, depending on the size of the child) dollar store canvas D-ring belt!

**PLEASE NOTE: Even with a seatbelt on, you should never, EVER leave your child unattended in a shopping cart. Always stay within arm's reach!!**
STEP ONE: Cut off a section of the belt on the non-buckle end. (To fit my 9-month-old daughter, I cut a 16" section of belt. You may need to adjust this measurement to fit your child.)


STEP TWO: On the FINISHED end of the piece you cut off (not the piece with the buckle), fold a loop wide enough to easily loop the rest of the belt through. Sew. I sewed mine twice for added security.


STEP THREE: Finish the two cut ends of your belt. I happened to have a small scrap of vinyl left over from a previous project, so that's what I used, but you could bind it with any kind of fabric.


This is what you should now have.


STEP FOUR: Attach the loop piece to the longer piece as shown. To fit my daughter, I attached the loop piece 10" in from the end of the buckle, as shown. I overlapped the two belt pieces completely and sewed three lines across for security.


You're done! This photo shows how you will buckle the seatbelt. Simply lay the loop piece from the back of the seat to the front, loop each of the two sides around a few bars of the shopping cart in the back rest of the seat, wrap them around your child's waist, through the loop, and buckle. That crotch piece should keep your child seated! D-ring belts do have a tendency to slip a little so, again, do not leave your child unattended.


**NOTE: Since I do not have a shopping cart in my home, I used a chair ONLY for the purpose of showing how to buckle the seatbelt. I would never leave my baby unattended on a chair like this!**