Ice Cream Cones w/o the Mess!

I had E's Valentines Day party today, and it was a huge success! The kids loved their pony bead heart necklaces. I was afraid the craft would be too hard for the kids, but they did great and there were enough moms there to help.
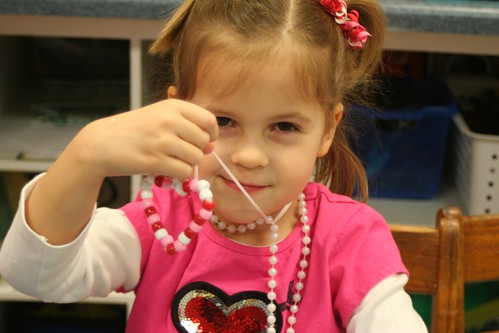
(Isn't my friend's little girl adorable? She and her twin sister are always so well-dressed. :)
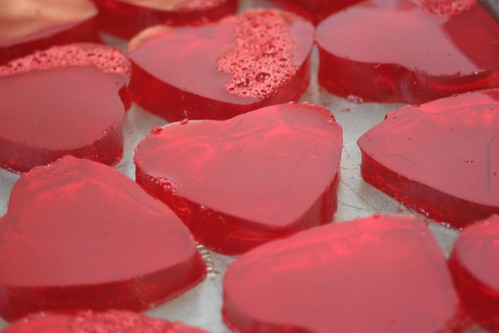
The book My Heart is Like a Zoo was also a huge hit. Besides the book and the craft, I was responsible for dessert. At first I planned on keeping it simple with heart jello jigglers. My mom always made these for my class and I have fond memories of "finger jello".
But then my sister Beth @ The Stories of A to Z twittered (tweeted?) a picture of these Valentines Faux Ice Cream Cones and I fell in love. She hadn't blogged about it yet, so I googled for a recipe and found one at Easy Cake Ideas. It looked easy, so I decided to give it a try. Here's what I did:
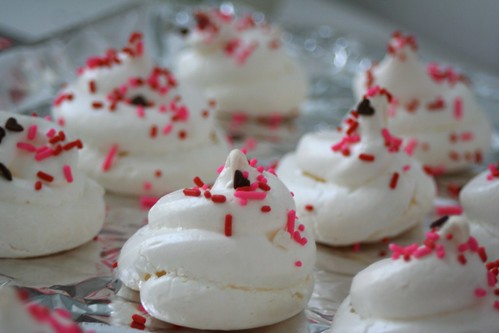
The Meringue Tops (do this the night before if possible)
Ingredients:
- 3 large egg whites
- ¼ teaspoon cream of tartar (mine turned out fine without)
- ¾ cup granulated sugar
- Piping bag or gallon size Ziploc bag
2. In a large bowl beat the egg whites until foamy. Make sure your bowl and mixer are very clean. Any grease will ruin the meringue.
3. Add the cream of tartar and continue beating until soft peaks form.
4. Add the sugar a little at a time and continue beating until the mixture holds stiff peaks when the whisk is lifted from the bowl.
5. Line a cookie sheet with parchment paper or tin foil (not wax paper).
6. Using a piping bag without a tip or a gallon size Ziploc with a 1” hole snipped in the corner, pipe a meringue 'ice cream' swirl in roughly the same diameter as the opening of the ice cream cone.
7. Top each with sprinkles.
8. Bake for 1 ½ hours or until the meringue is dried out and crisp to the touch.
9. Crack the oven door and leave to finish drying out overnight.
The Cake Cones
1. Using a cake mix, follow the directions up to pouring into the pans.
2. Line up the ice-cream cones on a cookie sheet.
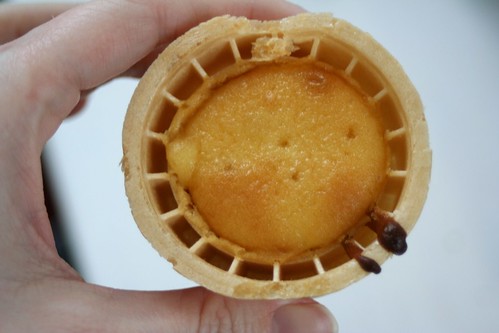
3. Spoon the cake batter into the cones, filling only to the line where the neck of the cone widens out.
4. Bake at 350° F for about 22-25 minutes, until a cake tester comes out clean.
5. Cool completely.
Assemble!

Spread icing (I used store-bought) on top of the cake cone and then top off with one of the meringue cookies.
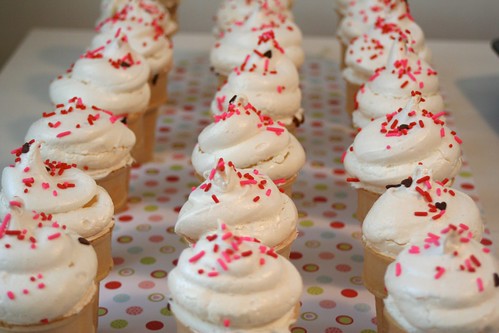
Now they're all ready to pass out to a class of sweethearts! These ended up being a huge hit with E's classmates. They got a kick out of the pretend ice cream, and I heard two little boys exclaim "it's not messy!"
The whole process took most of the afternoon yesterday and much of the morning, so I don't plan on doing this again anytime soon, but I am proud with the way they turned out. If you want a simpler solution, my sister used marshmallows inside the cones instead of cake and added M&Ms to the meringue.
I read Amilia Badilia's First Valentine, Valentine Mice, and Mouse's First Valentine for my class on our special party day just in case you wanted to know.


No comments:
Post a Comment